Showing posts with label In Colour 2022-2024. Show all posts
Happy Birthday - Best Day - JAI639 Just Add Ink -Colour Challenge

Happy Birthday - Best Day - JAI639 Just Add Ink -Colour Challenge


Hello again and welcome back to my blog! I have another Just Add Ink Design Team post for you today. This week's challenge is Just Add Ink #JAI639 Colour Challenge  

I actually found this colour challenge quite hard despite the beautiful colours in the challenge. I decided to create a retro themed birthday card using the Best Day stamp set and creating the retro colours using hand drawn and coloured wavy lines with Stampin' Blends. 

Click HERE if you would like to be taken straight to my store if you would like to shop any of these items.


Instructions:

- Use an A4 piece of Polished Pink, cut in half lengthwise and folded. Layer with a strip of Basic White. 

- Take a piece of Basic White and free draw lines using both the light and dark Stampin' Blends challenge colours and colour in.

- Stamp the birthday cake image from the Best Day stamp set onto Basic White with Tuxedo Black. Fussy cut the whole image using Paper Snips. Colour in with Stampin' Blends in the challenge colours. 

- Add some 2022 - 2024 In Colour Matte Decorative Dotsto the cake and card to complete.

___________________________________________

Will you be entering our challenge this week? We would love to see your summery creation. Click the image below to be taken straight to this weeks challenge.

___________________________________________________________________

I have a new tutorial bundle available this month. The February 2023 Create With Us Tutorial Bundle features 15 tutorials from Stampin' Up!® designers from around the world and this month we have all created projects that highlight the Fancy Flora Suite. This is an amazing tutorial with so many fantastic ideas.


Visit my Tutorial Page HERE to purchase this bundle.
____________________

I also have a tutorial bundle available highlighting the Splendid Day Suite Collection containing 27 Tutorials from myself and demonstrators from all over the world. All tutorials contain measurements in both Imperial and Metric.
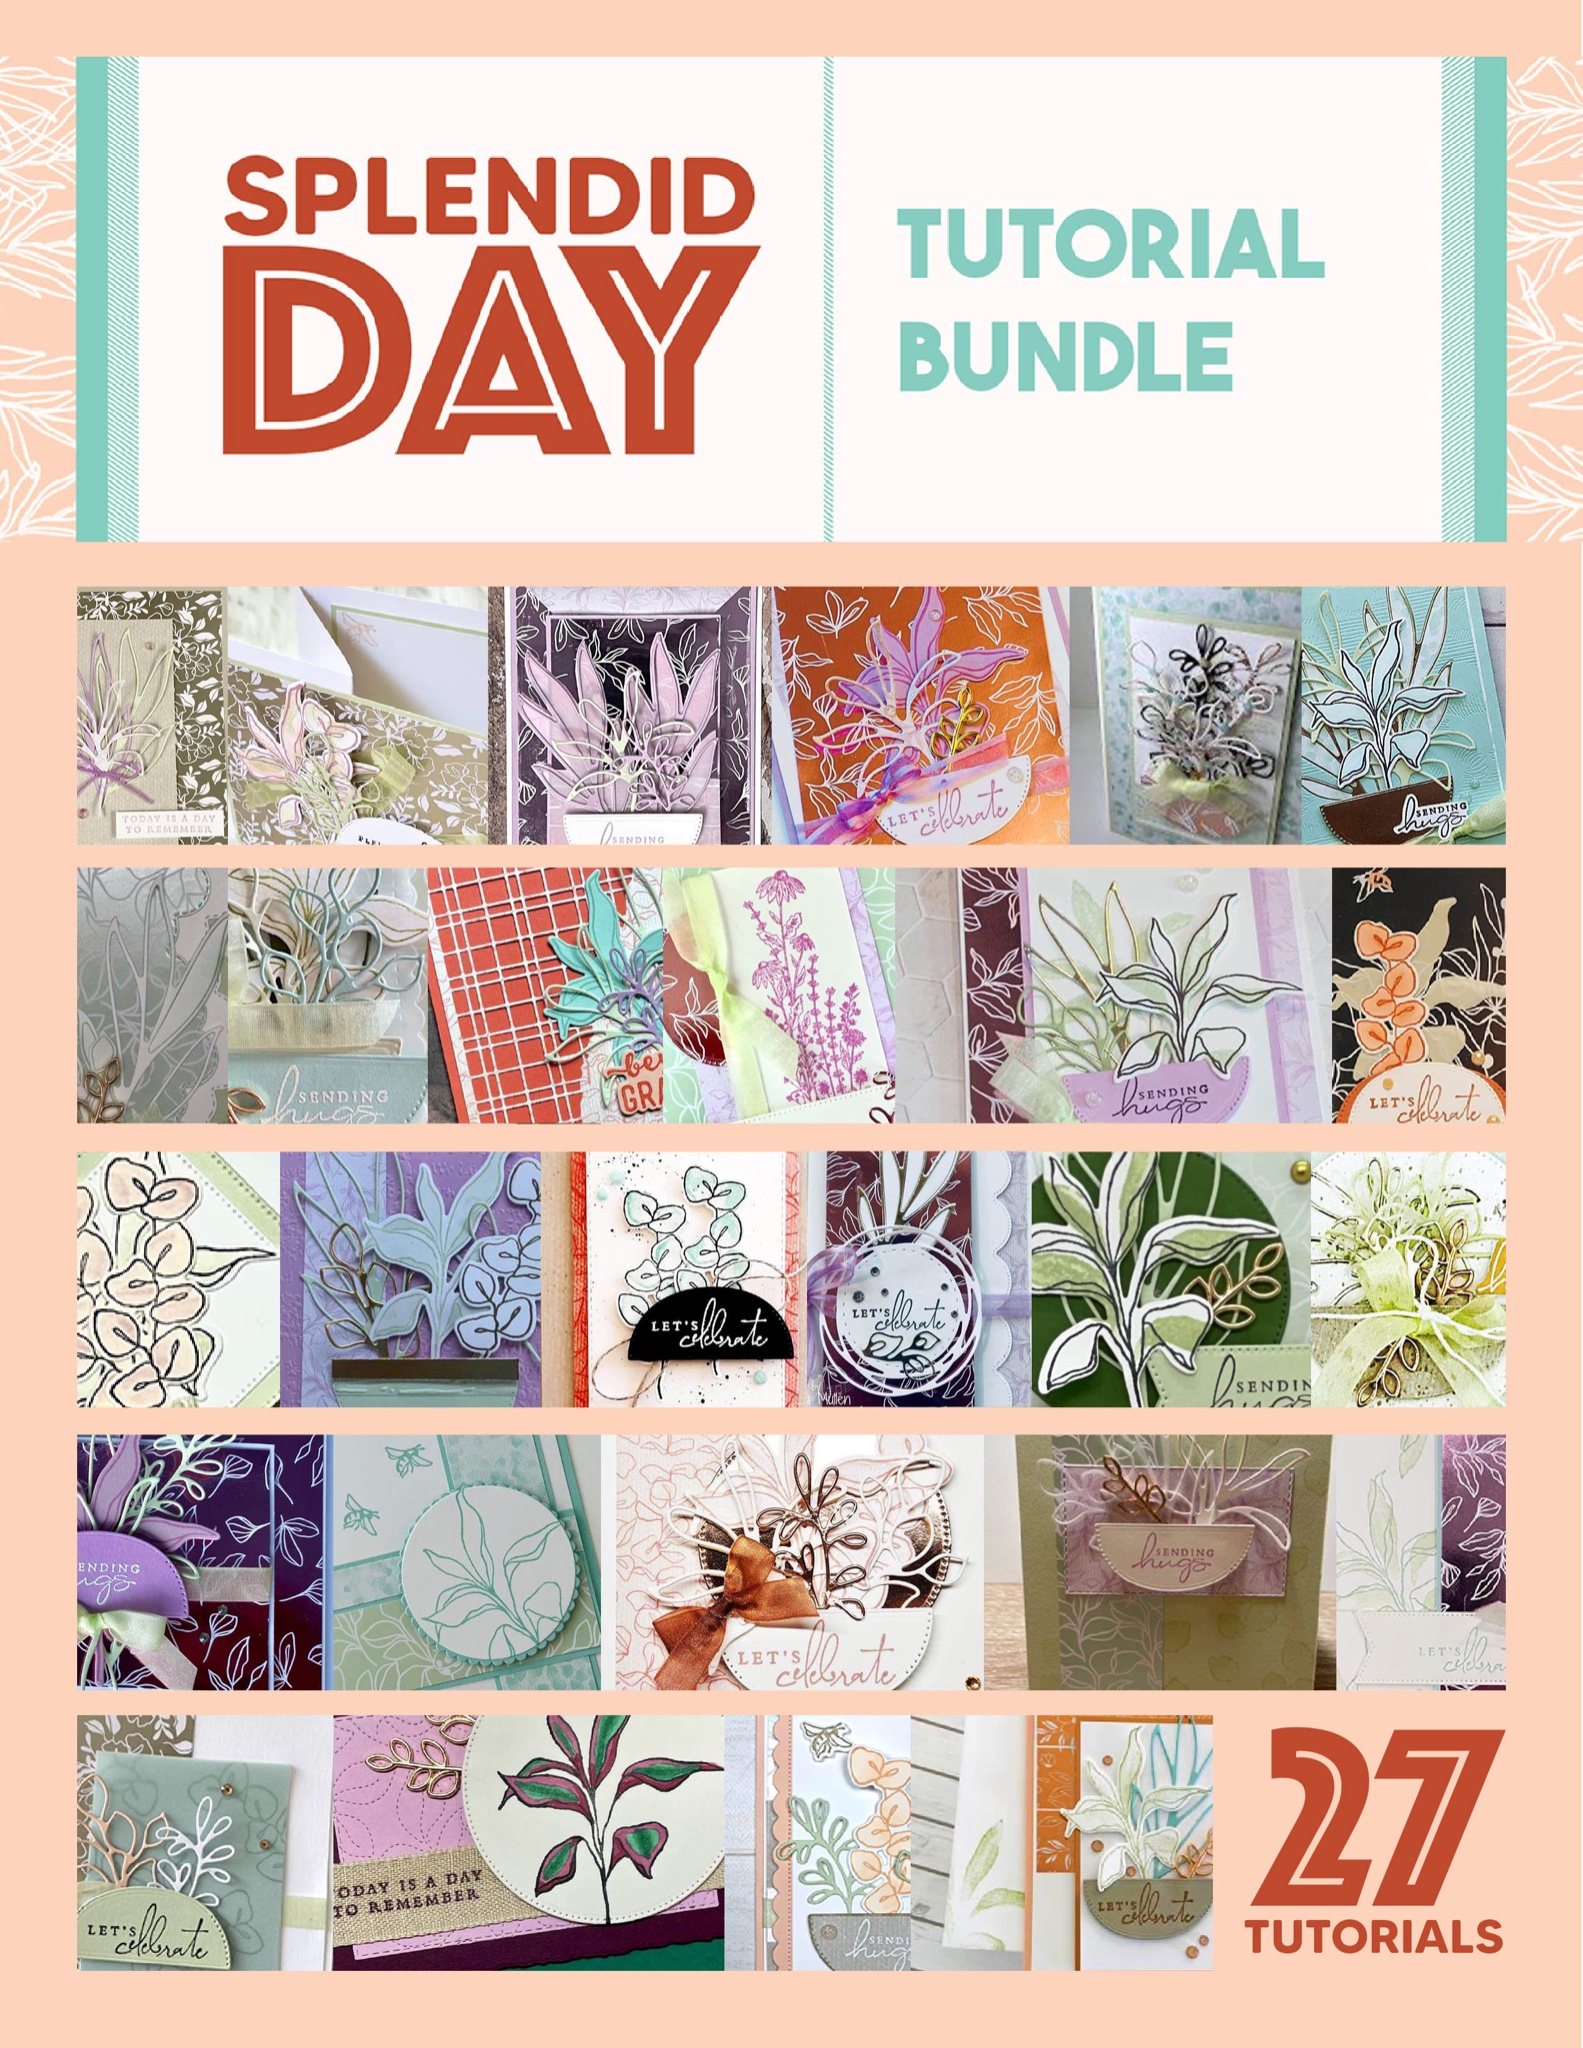

Visit my Tutorial Page HERE for more information, or visit the top of this page and click the link.
______________________________

Subscribe to my newsletter HERE

My FEBRUARY 2022 Host Code: EDJTR4MW . When you spend over $40 in my store, you will receive a handmade card and a FREE gift from me.

If you would like to purchase any of these supplies, please click here. 

Please email me if you would like a copy of the 2022-2023 Annual Catalogue or the Jan-April 2023 Mini Catalogue or the Sale-a-bration Jan/Feb 2023 Catalogue.

Click to JOIN my team. 

If you would like regular updates from me, click my newsletter link here.

Follow me on social media via Facebook, Instagram and Pinterest.

Hope you are getting some crafty time today, chat soon!
Read more »
Annie A
2 Comments
Sending Love Your Way - Full of Love - GDP345 Colour Challenge

Sending Love Your Way - Full of Love - GDP345 Colour Challenge


Hello and welcome to my blog! Today's card is for Global Design Project's #GDP345 Colour Challenge . This week we have a fun colour challenge using Starry Sky, Sweet Sorbet and Petal Pink.

For my card I decided to use the brand new Full of Love stamp set, coloured with Stampin' Blends using two of the new 2022-2024 In Colours


Instructions:

- Use Sweet Sorbet A4 card cut in half lengthwise and folded for the card base. Stamp the main image from the Full of Love stamp set onto Basic White card using Tuxedo Black ink. Colour with Stampin' Blends (Starry Sky, Sweet Sorbet, Petal Pink). Use the Colour Lifter to soften some of the colours. Stamp the image onto Masking Paper and fussy cut out. 

- Apply over the coloured image and use a Blending Brush and Petal Pink ink and apply around the stamped image. Stamp the sentiment on a strip of Basic White using Starry Sky ink and adhere to a strip of Starry Sky card and attach to the card. Adhere the panel to the card base and add some Rhinestone Basic Jewels coloured with Starry Sky Stampin' Blends to decorate.

_______________________________


Read more »
Annie A
0 Comments
A Little Hello - Boughs & Blossoms - GDP344 Case The Designer Challenge

A Little Hello - Boughs & Blossoms - GDP344 Case The Designer Challenge


Hello and welcome to my blog! Today's card is for Global Design Project's #GDP344 Case The Designer . Today we are CASEing the amazing Charlet Mallett. 

I love Charlet's original card with all its vibrant colours. I decided to use the florals and layout as inspiration for my card today. I used the Boughs & Blossoms stamp set, Bough Punch and 2021-2023 In Colour Opal Rounds. I also used the just retired Tasteful Textiles Embossing Folder. Don't forget this stamp set will be retiring at the end of June, and it is a perfect set for easy to create floral card especially with the coordinating Bough Punch.


Instructions:

- Use Gray Granite A4 card cut in half lengthwise and folded for the card base. Layer with a piece of the Basic White card embossed with the Tasteful Textiles Embossing Folder (retired). 

- Stamp the flowers and leaves using Polished Pink, Daffodil Delight, Parakeet Party and Tahitian Tide inks onto Basic White card and fussy cut. Punch leaves using the Bough Punch from Gray Granite and Parakeet Party. Adhere all of the flowers and leaves to the card.

- Stamp the sentiment from the Boughs & Blossoms stamp set using Versamark ink onto Basic  Gray card and heat emboss with White Stampin' Emboss Powder. Add some Polished Pink 2021-2023 In Colour Opal Rounds.

___________________________________

Subscribe to my newsletter HERE

My MAY 2022 Host Code: 3ZVTKUY7 . When you spend over $40 in my store, you will receive a handmade card and a FREE gift from me.

If you would like to purchase any of these supplies, please click here. 

Please email me if you would like a copy of the upcoming 2022-2023 Annual Catalogue or the Jan-June 2022 Mini Catalogue.

Click to JOIN my team. 

If you would like regular updates from me, click my newsletter link here.

Follow me on social media via Facebook, Instagram and Pinterest.

Hope you are getting some crafty time today, chat soon!

Product List:
Read more »
Annie A
0 Comments
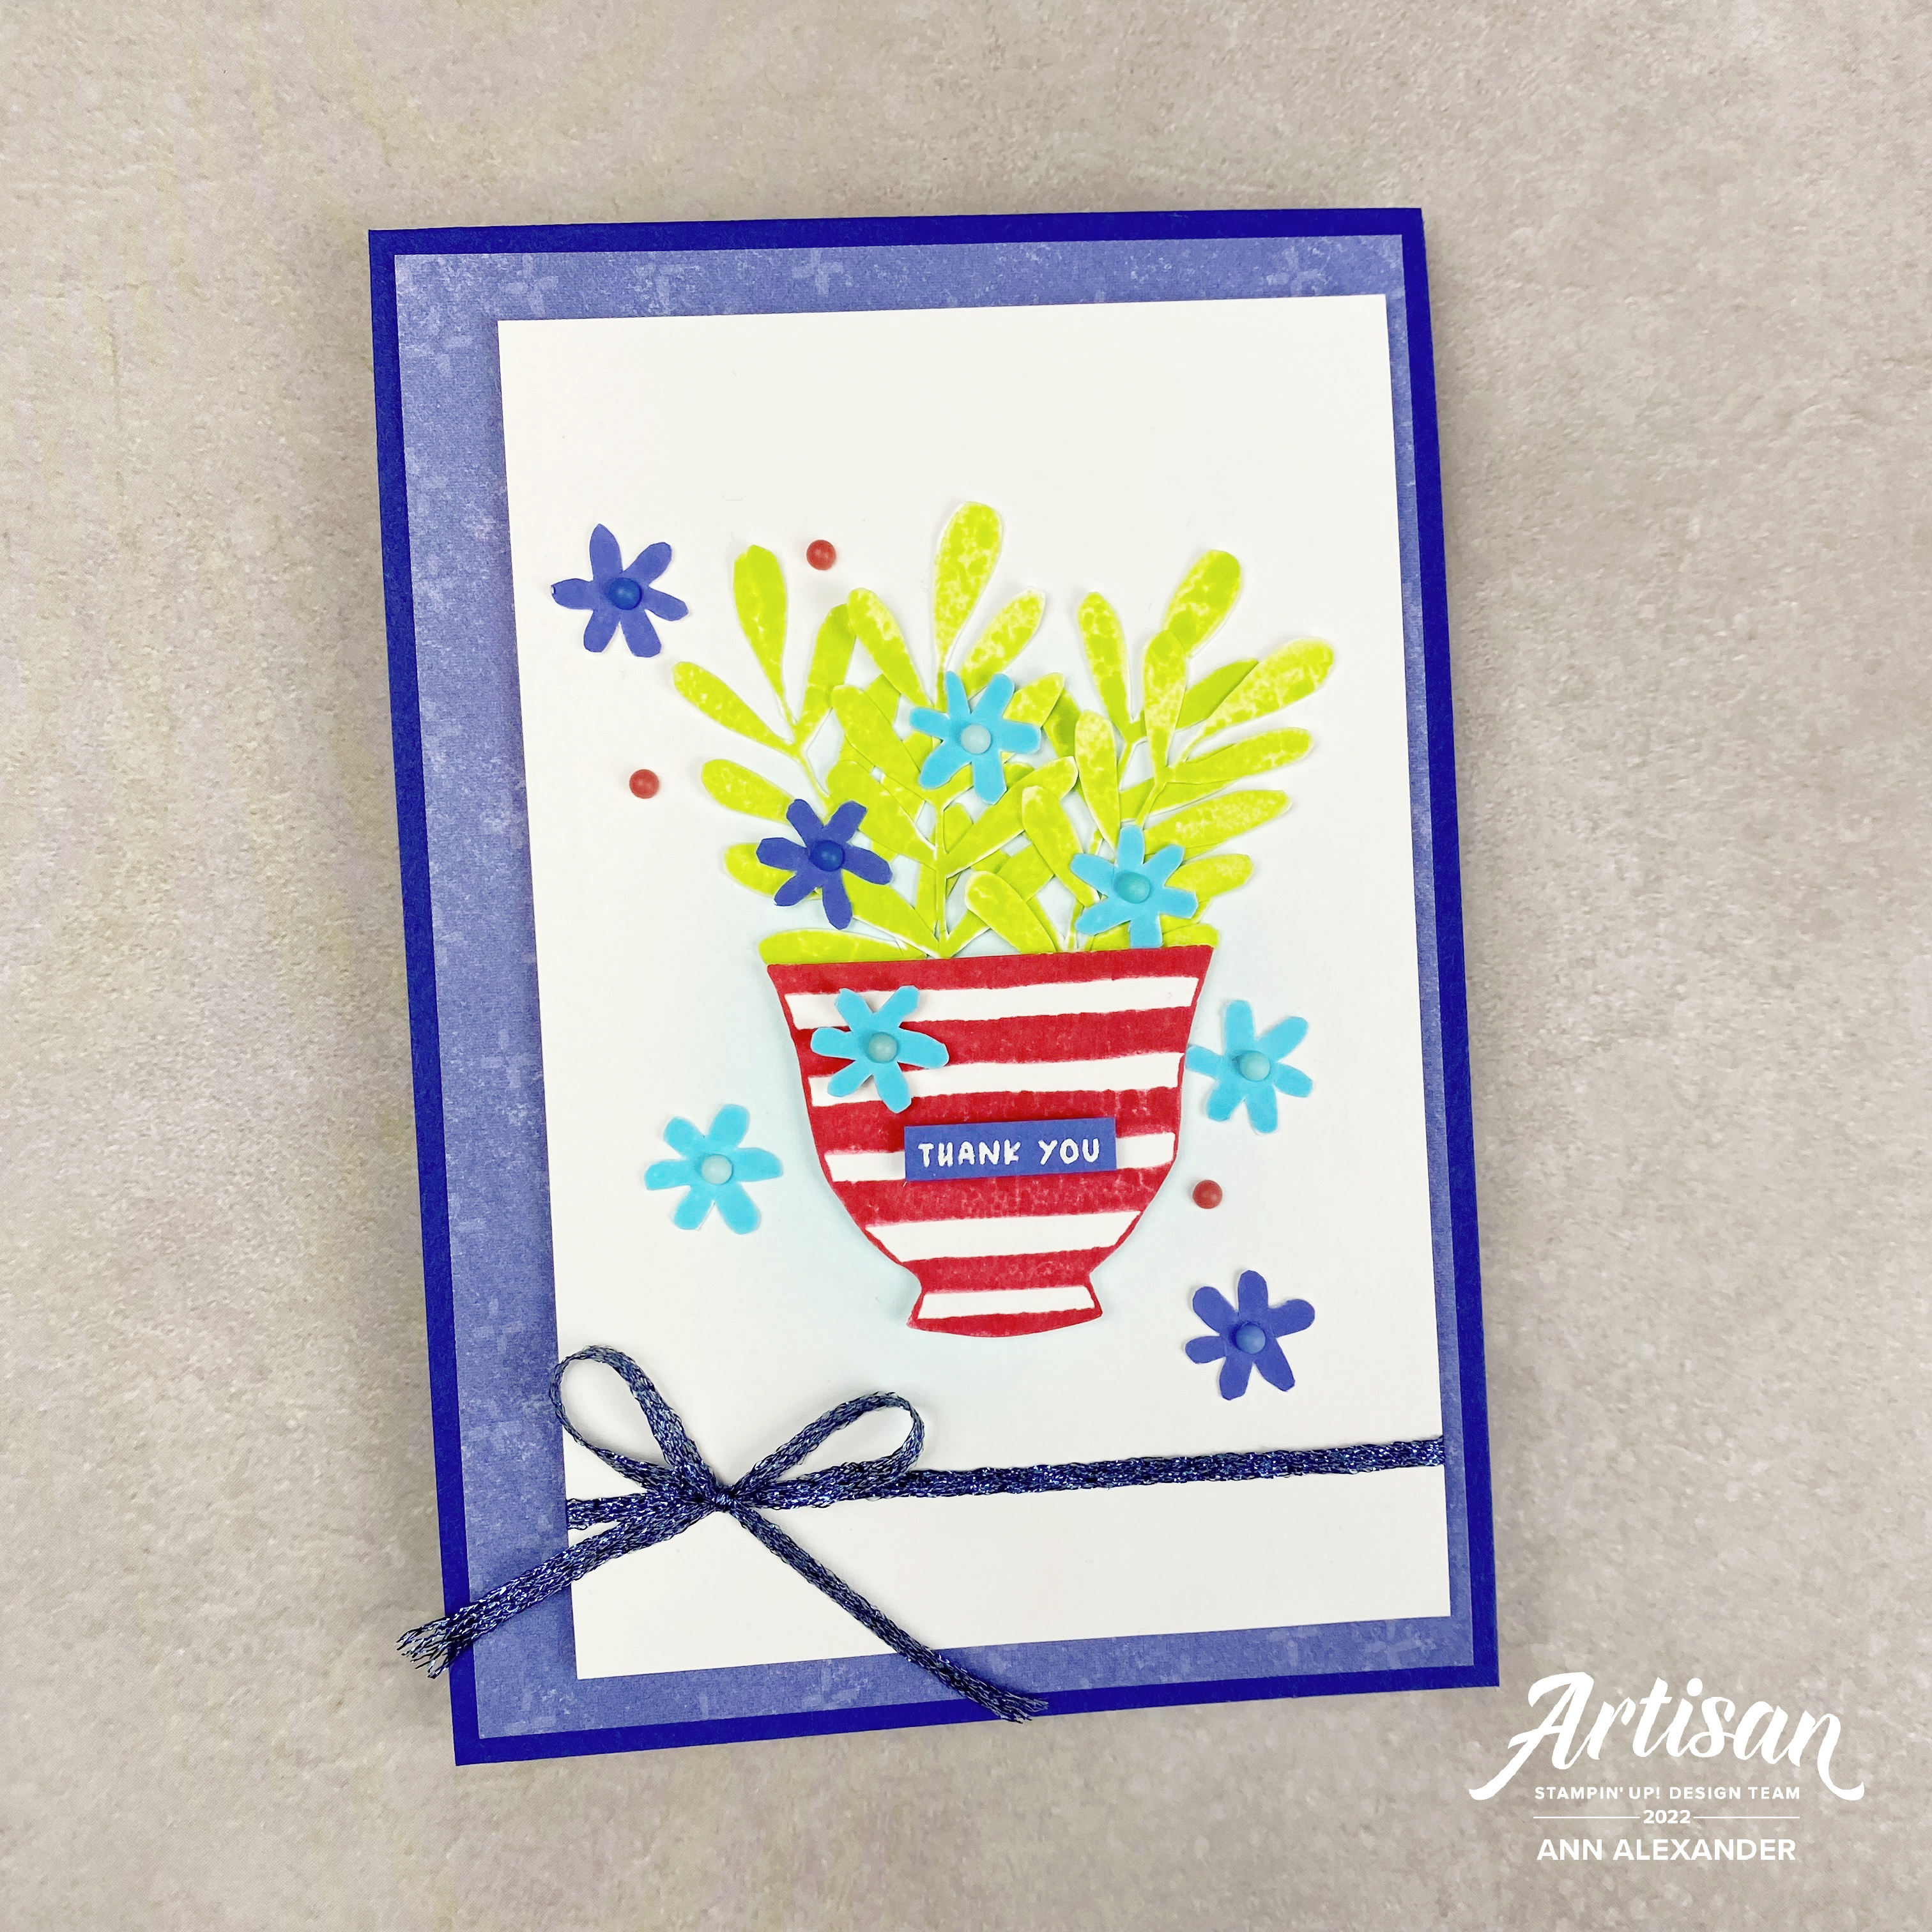
Thank You - Cup of Tea - Casually Crafting Design Team Blog Hop - May 2022

Thank You - Cup of Tea - Casually Crafting Design Team Blog Hop - May 2022


Hello and welcome back. Today I have a card for the Casually Crafting Design Team May 2022 Blog Hop. This month we have a Colour Challenge using the brand new 2022-2024 In Colours from Stampin' Up!®. 


So who are we?

The Casually Crafting Design Team are a group of Independent Stampin' Up!® demonstrators from around the world that want to share our love of crafting with you all. We all love simple and easy cards, so you will see cards that are ideally suited for beginners and casual crafters. Sometimes we will also be showing stepped up versions for the more avid crafter.

We will sharing what we love every 3rd Saturday of the month. Make sure to check out the rest of the Design Team's creative projects using the links below. 

For this month, I decided to use the Cup of Tea stamp set with the coordinating Tea Boutique DSP, Starry Sky Metallic Woven Ribbon and 2022-2024 In Colour Matte Decorative Dots.

Instructions:

- Use a piece of Starry Sky card A4/Letter cut in half lengthwise and folded. Mat with a piece of Tea Boutique DSP.

- Use a smaller piece of Basic White and apply Tahitian Tide ink with a Blending Brush. Stamp the cup, leaves and flowers from the Cup of Tea stamp set in Sweet Sorbet, Parakeet Party, Tahitian Tide and Orchid Oasis respectively. Fussy cut out and adhere to the Basic White card. 

- Stamp a sentiment from the Cup of Tea set using Versamark ink onto Orchid Oasis card and heat emboss with White Stampin' Emboss Powder. Adhere the sentiment to the teacup on the card. Add some 2022-2024 In Colour Matte Decorative Dots to the flower centres and to the card. Tie a piece of Starry Sky Metallic Woven Ribbon to the Basic White card and then adhere to the card base.

Measurements:

- Starry Sky card base: A4/Letter cut in half lengthwise and folded in half.

- Tea Boutique DSP: A4 5 5/8" x 3 7/8"/ 14.4 cm x 10 cm or Letter 4" x 5 1/4"

- Basic White card: A4 5 1/8" x 3 3/8"/ 13.4 cm x 9 cm or Letter 3 1/2" x 4 3/4"

You may be starting here or may have come from another blog - either way you can find the blog link list below, so that you can see every blog post and idea today.

I hope you like this card today. Have you had a chance to play with the Cup of Tea Bundle yet? Please leave me a comment to let me know!

BLOG LINKS:

** Please email me if you have any questions.

Subscribe to my newsletter HERE

My MAY 2022 Host Code: 3ZVTKUY7 . When you spend over $40 in my store, you will receive a handmade card and a FREE gift from me.

If you would like to purchase any of these supplies, please click here. 

Please email me if you would like a copy of the upcoming 2022-2023 Annual Catalogue or the Jan-June 2022 Mini Catalogue.

Click to JOIN my team. 

If you would like regular updates from me, click my newsletter link here.

Follow me on social media via Facebook, Instagram and Pinterest.

Hope you are getting some crafty time today, chat soon!

Product List:
Read more »
Annie A
6 Comments
Artisan Design Team -  May 2022 - Nature's Prints

Artisan Design Team - May 2022 - Nature's Prints


Hello and welcome to my blog! Today I am sharing my May monthly showcase projects for the Stampin' Up!® Artisan Design Team! 

For this month's projects, I was asked to use products from the Sun Prints Suite (from the new Stampin' Up!® 2022-2023 Annual Catalogue) including the "Nature's Prints" Bundle, Fern Embossing Folder and Sun Prints Designer Series Paper . I hope that the projects I have made inspire you to create something using this lovely bundle! Don't forget to visit the Stampin' Up!® Corporate Facebook Page to see what the other Artisan Team Members have created with this set.


Here is the full bundle with the Sun Prints Suite.


Hello There


- Use Basic White card for the base, with a piece of Night of Navy card and then the Sun Prints DSP for the layers. Use a piece of Basic White and emboss with the Fern Embossing Folder and adhere.

- Using the wreath die cut from the Natural Prints Dies, cut wreaths from Basic White and from the Sun Prints DSP using one of the Gray Granite patterned papers. Stamp multiple floral images from the Nature's Prints stamp set onto Basic White using Smoky Slate ink. Use the Natural Prints Dies to die cut, colour with So Saffron Stampin' Blends and arrange around the wreath. 

- Stamp the sentiment from the stamp set using Night of Navy ink onto a piece of Basic White and mat with Night of Navy card and adhere in the centre of the card. Add some Solid Faceted  Gems to the card.

Best Wishes & Happy Thoughts


-  Use a Starry Sky card base, and layer with a piece of Basic White. Layer two pieces of the DSP over the top.

- Die cut a wreath using the Natural Prints Dies from Sweet Sorbet card. Run through the Fern Embossing Folder (see the tip below for more information) and adhere to the card. Stamp the large leaf image from the Nature's Prints stamp set using Versamark ink onto Basic White and heat emboss with Gold Stampin' Emboss Powder. Adhere to the card and add a ribbon created using the Starry Sky 1/8" Metallic Woven Ribbon. Adhere some 2022-2024 In Colour Matte Decorative Dots to the card.


TIP:  Use an embossing folder with your freshly cut die-cuts to add texture and visual interest and make unique embellishments for your projects.

Hello There


-  Use a Night of Navy card base (4 1/8" square card) , and stamp ferns from the Nature's Prints stamp set onto it using Night of Navy Ink. Layer with a piece of Basic White card embossed using the Fern Embossing Folder.

- Stamp images from the Nature's Prints stamp set onto Basic White card using Smoky Slate ink and die cut using the Natural Prints Dies. Use the Dies to die cut some extra leaves from Sweet Sorbet card. Adhere in a bouquet on the front of the card and add a double bow using the Starry Sky 1/8" Metallic Woven Ribbon. 

- Stamp a sentiment using Night of Navy Ink onto Basic White and mat with Sweet Sorbet card. Adhere some 2022-2024 In Colour Matte Decorative Dots to the card.
____________________________________________

** Email me if you have any questions.

Don't forget to subscribe to my newsletter.

Also don't forget to visit my Tutorial page for my brand new August-September 2021 Sale-a-bration Mega Tutorial Bundle which contains 39 tutorials. Even though Sale-a-bration has finished, there are so many inspiring tutorials in the bundle.I also have the Dandy Garden Mega Tutorial Bundle which contains 62 tutorials for Dragonfly and Dandy Garden inspiration from Demonstrators all over the world and the  Love You Always - Mosaic Card Tutorial available as a tutorial too. 

Read more »
Annie A
0 Comments
Hope it's your best day ever - Let's Set Sail

Hope it's your best day ever - Let's Set Sail


Today I have a quick post for you using the "Let's Set Sail" bundle. This set is being highlighted this week by Stampin' Through the Catalog and is also one that will be featured soon in an upcoming post. 

For my card, I used the Let's Set Sail bundle, as well as the Vellum Layering Designs and New Horizons DSP and the new 2022-2024 In Colours. 


Instructions:

- Use a Orchid Oasis A4 card cut lengthwise and folded in half. Use a piece of Basic White card and use the 'water' stamp with Sweet Sorbet ink and a Stamparatus to create broad lines across the card stock . Layer with a piece of the Vellum Layering Designs.

- Stamp the boat from the Let's Set Sail stamp set using Orchid Oasis and Sweet Sorbet ink onto Basic White card and punch out with the Sailboat Builder Punch. Adhere together and then adhere to circle punched or die cut from the New Horizons DSP. Mat onto another piece of the New Horizons DSP and Basic White card cut using the Layering Circles Dies in larger sizes. Adhere some Pearl Basic Jewels to create the appearance of a Porthole.

- Stamp the sentiment from the Let's Set Sail stamp set onto Basic White using Orchid Oasis  ink and attach to a piece of scrap New Horizons DSP and then adhere to the card.
_________________________________________________

My APRIL 2022 Host Code: ZRKXWAQU . When you spend over $40 in my store, you will receive a handmade card and a FREE gift from me.

If you would like to purchase any of these supplies, please click here. 

Please email me if you would like a copy of the upcoming 2022-2023 Annual Catalogue or the Jan-June 2022 Mini Catalogue.

Click to JOIN my team. 

If you would like regular updates from me, click my newsletter link here.

Follow me on social media via Facebook, Instagram and Pinterest.

Hope you are getting some crafty time today, chat soon!

Products used:
- Bundle: Let's Set Sail Bundle
- Card: Orchid Oasis, Sweet Sorbet, Basic White
- Paper: Vellum Layering Designs, New Horizons DSP
- Ink - Sweet Sorbet and Orchid Oasis
- Dies: Vellum Layering Designs
- Embellishments: Pearl Basic Jewels
Read more »
Annie A
0 Comments
I am an Independent Stampin' Up! Demonstrator