Showing posts with label Framed Florets. Show all posts
Thank You - Framed Florets & Art Gallery - Demonstrator Training Program Monthly Blog Hop April 2023

Thank You - Framed Florets & Art Gallery - Demonstrator Training Program Monthly Blog Hop April 2023


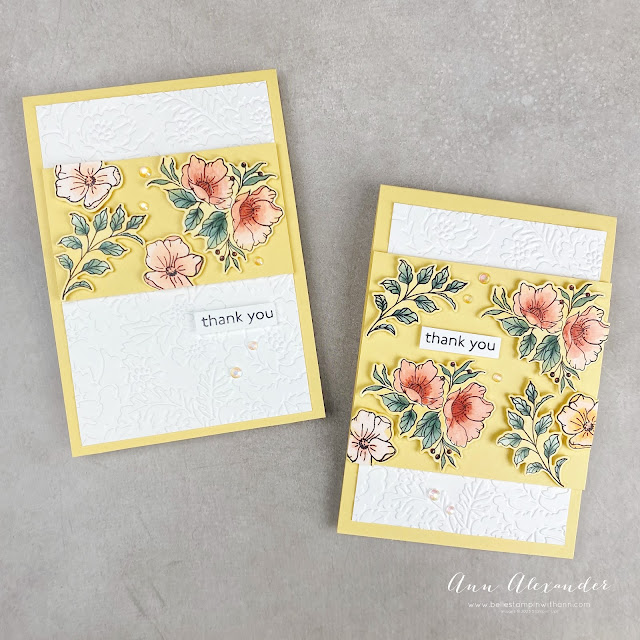
My card for today is for Kylie and Bruno Bertucci's Demonstrator Training Program Blog Hop April 2023. I am so happy that you could join my fellow demonstrators and I today for this blog hop, which I hope will provide you with many ideas and creative inspiration. The theme is "Thank You".

We are a group of Stampin' Up!® Demonstrators from around the world that are taking part in training that is helping us to build a successful Stampin' Up!® business and we really appreciate your support!

You may be starting here or may have come from another blog - either way you can find the link list at the bottom of this post so that you can see every blog post and idea today.

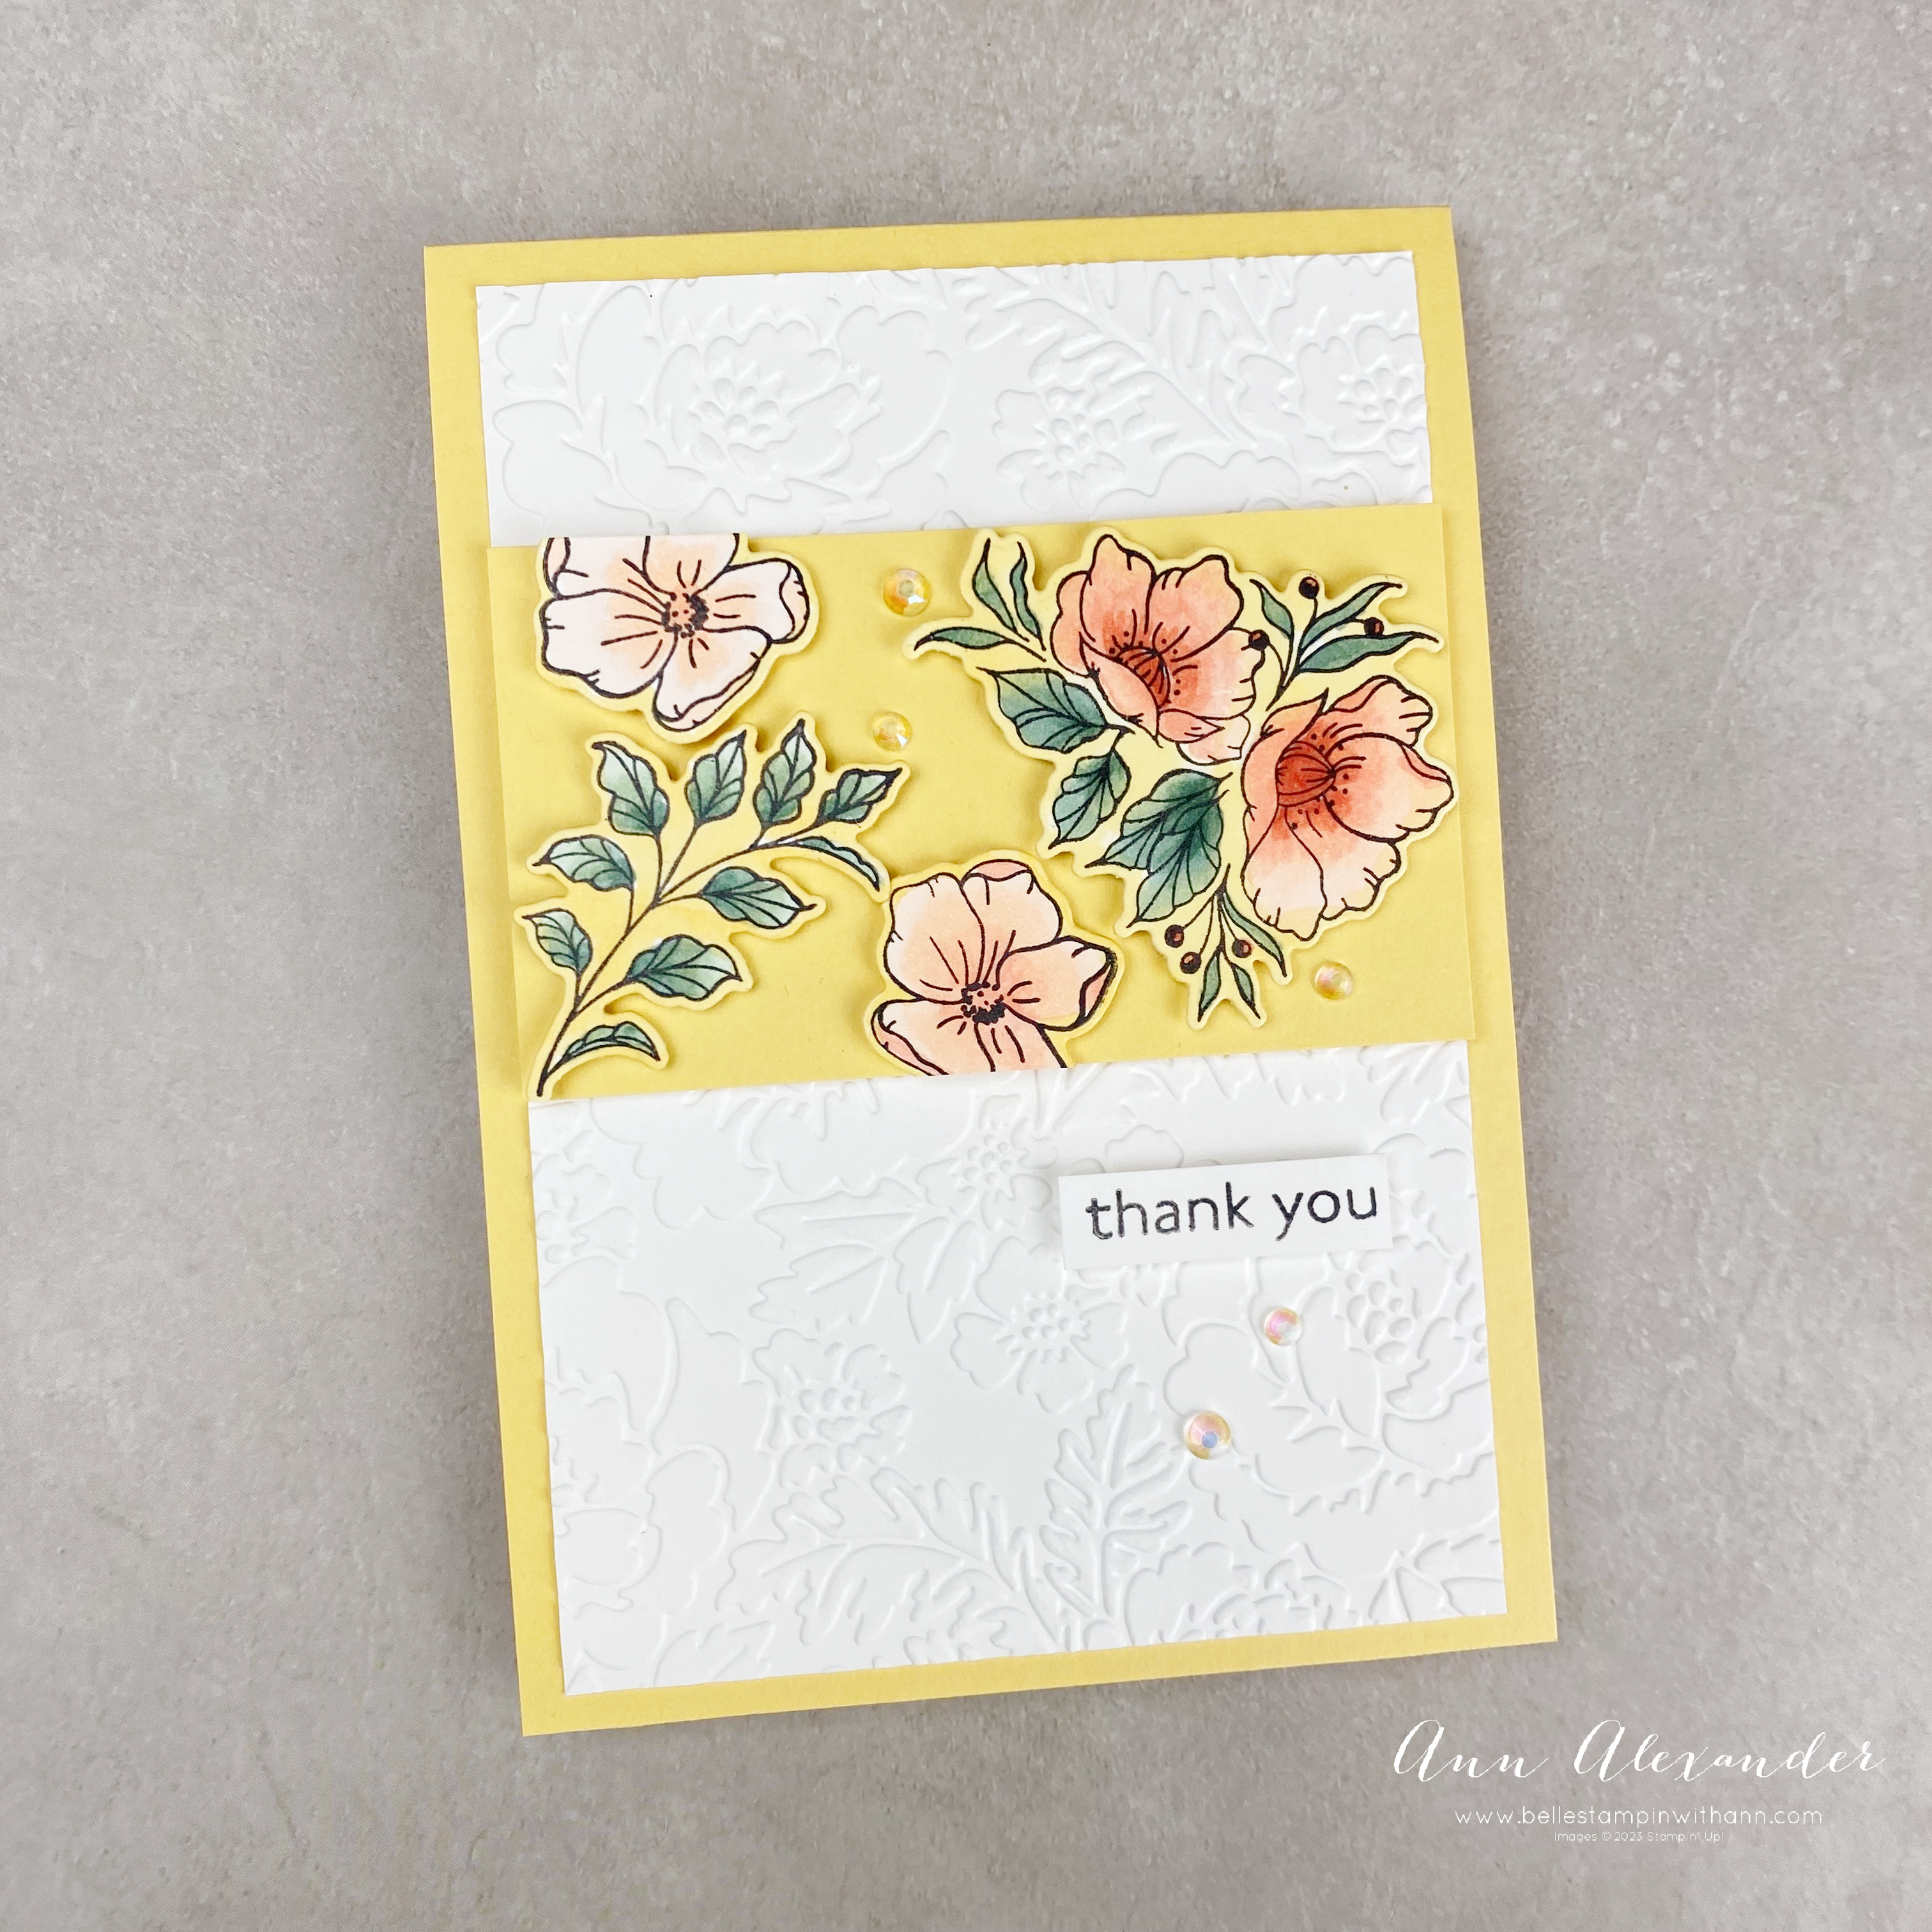
For my cards today, I used the Framed Florets stamp set colouring the images with Stampin' Blends. I used the Pretty Flowers Embossing Folder for the background and the Art Gallery stamp set for the sentiment. All of these items will be retiring soon and can be purchased HERE.

I was inspired by a card from Martin Stone (see HERE for his card) but used retiring stamps and colours for my cards.


Instructions:

- For both cards use a piece of So Saffron for the card base and mat with a piece of the Basic White card which has been embossed with the Pretty Flowers Embossing Folder.

- Stamp flowers and leaves from the Framed Florets stamp on Basic White using Tuxedo Black ink. Colour around the images with So Saffron Stampin' Blends and die cut with the Framed Florets Dies. Colour the images with Stampin' Blends (So Saffron, Pale Papaya, Calypso Coral, Mint Macaron and Soft Succulent). Adhere the die cut pieces onto a piece of So Saffron using Stampin' Dimensionals.

- Stamp a sentiment from the Art Gallery stamp set onto Basic White card using Tuxedo Black ink. Add some Iridescent Rhinestone Basic Jewels to complete.


Thanks so much for stopping by today!

As I mentioned at the top, this is a blog hop so make sure you 'hop' around to all the amazing projects from my fellow demonstrators on this hop! Click on the links below to visit them.

BLOG LINKS: 

Please leave me a comment if you have any questions!*
___

I have a tutorial bundle available. The March 2023 Create With Us Tutorial Bundle features 15 tutorials from Stampin' Up!® designers from around the world and this month we have all created projects that highlight the Rain or Shine Suite Collection. This is an amazing tutorial with so many fantastic ideas.

Visit my Tutorial Page HERE to purchase this bundle.
Read more »
Annie A
8 Comments
Easter Blessings - Daffodil Daydream - GDP387 Theme Challenge

Easter Blessings - Daffodil Daydream - GDP387 Theme Challenge


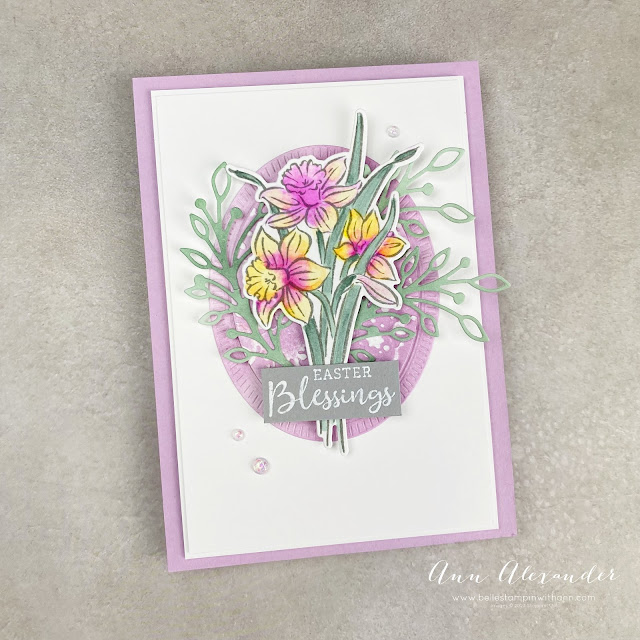
Hello and welcome back to my blog! Today's card is for Global Design Project's GDP387 Theme Challenge . This week we are celebrating Easter. 

I used the Daffodil Daydream Stamp Set, colouring the images with Stampin' Blends, Daffodil Dies and Framed Floret Dies for the oval and leaf die cuts.  I used the Stripes and Splatters Embossing Folder to emboss the die cut oval and distressed it to show off the embossing. I also used the 2021-2023 In Colour Opal Rounds.


Instructions:

- Use a piece of Fresh Freesia A4 card, cut in half lengthwise and folded. Layer with two pieces of Basic White card.

- Use a Blending Brush and apply Fresh Freesia ink to a piece of Basic White card. Die cut the Oval and Frame using the Framed Floret Dies. Emboss the Oval with the Stripes & Splatters Embossing Folder. Distress the raised area to highlight the design. Repeat this process with a Blending Brush and Soft Succulent ink and apply to a Basic White. Die cut the leaves with same dies.

- Stamp the daffodil from the Daffodil Daydream stamp set onto Basic White using Smoky Slate ink. Colour the image with Stampin' Blends (Soft Succulent, So Saffron and Polished Pink). 

- Stamp the sentiment from the Daffodil Daydream stamp set onto a strip of Smoky Slate card using Versamark ink and heat emboss with White Stampin' Emboss Powder. Add some 2021-2023 In Colour Opal Rounds to complete.

_____________________________

I have a new tutorial bundle available this month. The March 2023 Create With Us Tutorial Bundle features 15 tutorials from Stampin' Up!® designers from around the world and this month we have all created projects that highlight the Rain or Shine Suite Collection. This is an amazing tutorial with so many fantastic ideas.

Visit my Tutorial Page HERE to purchase this bundle.
Read more »
Annie A
0 Comments
Here For You - Framed Florets and Sending Support - GDP380 - Case the Designer

Here For You - Framed Florets and Sending Support - GDP380 - Case the Designer


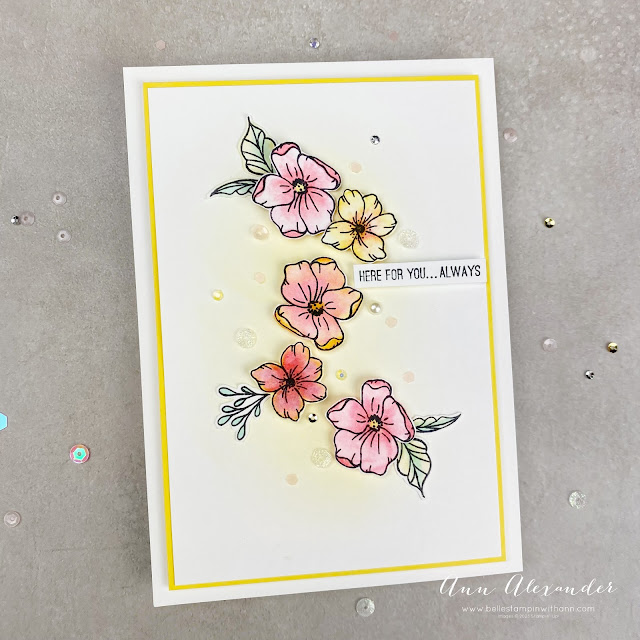
Hello and welcome back to my blog! Today's card is for Global Design Project's GDP380 Case the Designer Challenge . This week we are CASEing the amazing Janneke Dijkstra - de Jong. Janneke makes the fantastic CAS cards, and I was inspired particularly by her layout and colours.

For my card, I used the Framed Florets (flowers & leaves) and Sending Support (Sale-a-bration sentiment set) Stamp Sets, coloured the images with Stampin' Blends and added some ink blending and For Everything Fancy Sequins.

Instructions:

- Use a piece of Basic White A4 card, cut in half lengthwise and folded. Layer with a piece of Daffodil Delight card and then a piece of Basic White with Daffodil Delight ink applied softly with a Blending Brush.

- Stamp the floral and leaf images from the Frame Florets stamp set using Tuxedo Black ink onto Basic White and fussy cut out all of the images. Colour the images with Stampin' Blends (Daffodil Delight, Flirty Flamingo, Polished Pink, Pool Party) and adhere.

- Stamp a sentiment from the Sending Support stamp set onto a strip of Basic White using Tuxedo Black ink and add to the card. Add some For Everything Fancy Sequins to complete.

______________________________

I have a new tutorial bundle available this month. The February 2023 Create With Us Tutorial Bundle features 15 tutorials from Stampin' Up!® designers from around the world and this month we have all created projects that highlight the Fancy Flora Suite. This is an amazing tutorial with so many fantastic ideas.


Visit my Tutorial Page HERE to purchase this bundle.
____________________

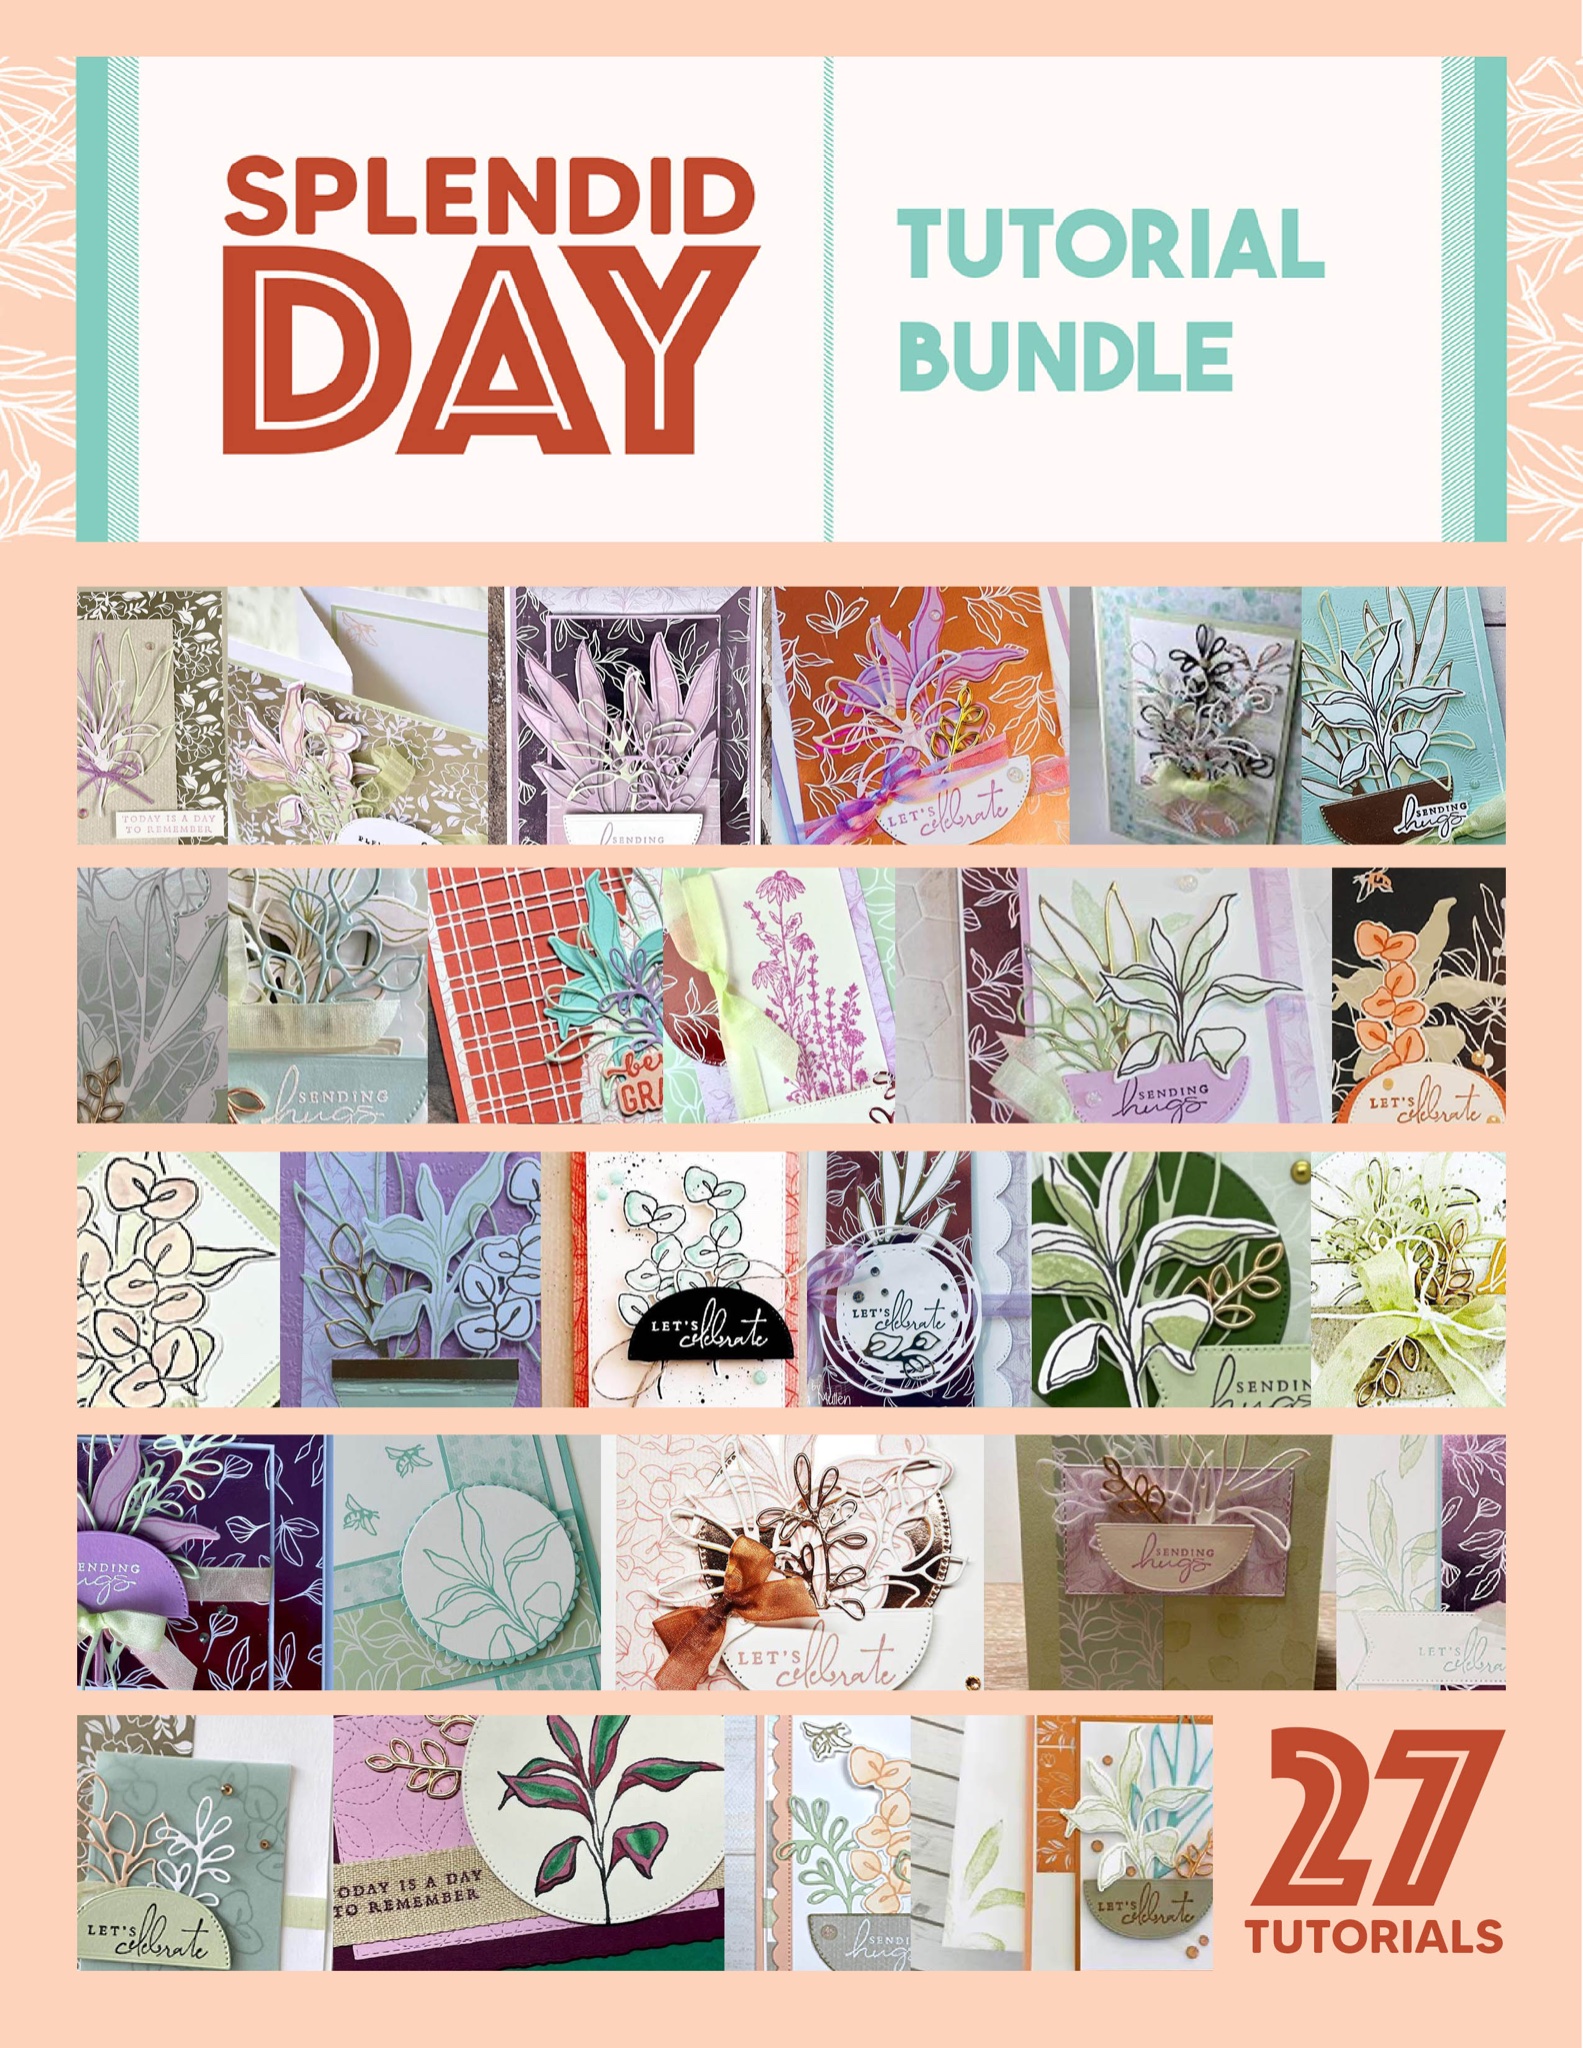
I also have a tutorial bundle available highlighting the Splendid Day Suite Collection containing 27 Tutorials from myself and demonstrators from all over the world. All tutorials contain measurements in both Imperial and Metric.


Visit my Tutorial Page HERE for more information, or visit the top of this page and click the link.
______________________________

Subscribe to my newsletter HERE

My FEBRUARY 2022 Host Code: EDJTR4MW . When you spend over $40 in my store, you will receive a handmade card and a FREE gift from me.

If you would like to purchase any of these supplies, please click here. 

Please email me if you would like a copy of the 2022-2023 Annual Catalogue or the Jan-April 2023 Mini Catalogue or the Sale-a-bration Jan/Feb 2023 Catalogue.

Click to JOIN my team. 

If you would like regular updates from me, click my newsletter link here.

Follow me on social media via Facebook, Instagram and Pinterest.

Hope you are getting some crafty time today, chat soon!
Read more »
Annie A
0 Comments
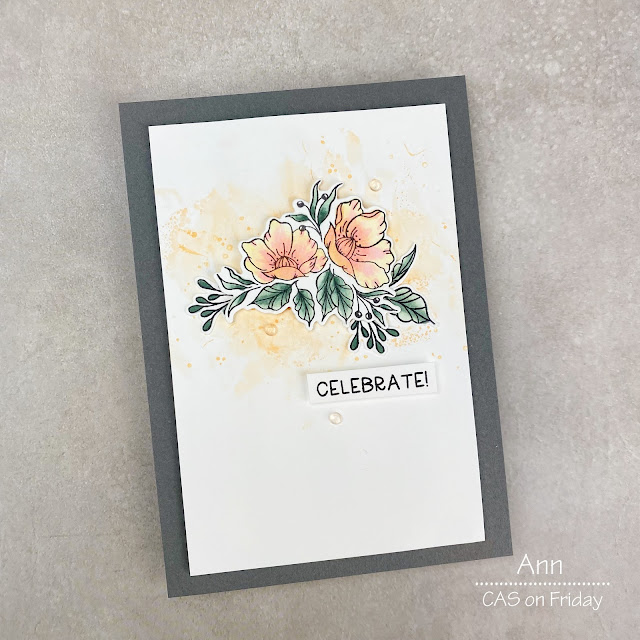
Celebrate - Framed Florets & Quiet Meadow - CAS on Friday

Celebrate - Framed Florets & Quiet Meadow - CAS on Friday


Hello and welcome back to my blog! My card for today is for this week's CAS on Friday Challenge #250 theme which is "Ink Splatter".

I used the Framed Florets stamp set, the Quiet Meadow stamp set for the dotted splatter and use Stampin' Blends to colour the images and also on a plastic sheet with rubbing alcohol to create the splattered background effect.

Make sure to visit the blog HERE to see the rest of the team's projects.

Instructions:

- Use a piece of Basic Gray A4 card, cut in half lengthwise. Use a piece of Basic White, and scribble some Pale Papaya Stampin' Blends onto a plastic sheet (eg plastic packaging) and then spray this with rubbing alcohol and apply the packaging to the card to apply colour. Keep adding colour until sufficient amounts have been applied.

- Use the splatter stamp from the Quiet Meadow set with Pale Papaya ink and stamping onto the Basic White card to add more details.

- Stamp the larger floral image and leaves from the Framed Florets stamp set and fussy cut. Colour with Stampin' Blends (Flirty Flamingo, So Saffron, Mint Macaron and Soft Succulent) and adhere to the card.

- Stamp a sentiment from the Framed Florets set using Tuxedo Black ink onto Basic White card and adhere. Finally add some Polished Dots to finish.

_______________________________

I have a new tutorial bundle available this month. The February 2023 Create With Us Tutorial Bundle features 15 tutorials from Stampin' Up!® designers from around the world and this month we have all created projects that highlight the Fancy Flora Suite. This is an amazing tutorial with so many fantastic ideas.

Visit my Tutorial Page HERE to purchase this bundle.
____________________

I also have a tutorial bundle available highlighting the Splendid Day Suite Collection containing 27 Tutorials from myself and demonstrators from all over the world. All tutorials contain measurements in both Imperial and Metric.


Visit my Tutorial Page HERE for more information, or visit the top of this page and click the link.
_______________________________

Subscribe to my newsletter HERE

My FEBRUARY 2022 Host Code: EDJTR4MW . When you spend over $40 in my store, you will receive a handmade card and a FREE gift from me.

If you would like to purchase any of these supplies, please click here. 

Please email me if you would like a copy of the 2022-2023 Annual Catalogue or the Jan-April 2023 Mini Catalogue or the Sale-a-bration Jan/Feb 2023 Catalogue.

Click to JOIN my team. 

If you would like regular updates from me, click my newsletter link here.

Follow me on social media via Facebook, Instagram and Pinterest.

Hope you are getting some crafty time today, chat soon!
Read more »
Annie A
0 Comments
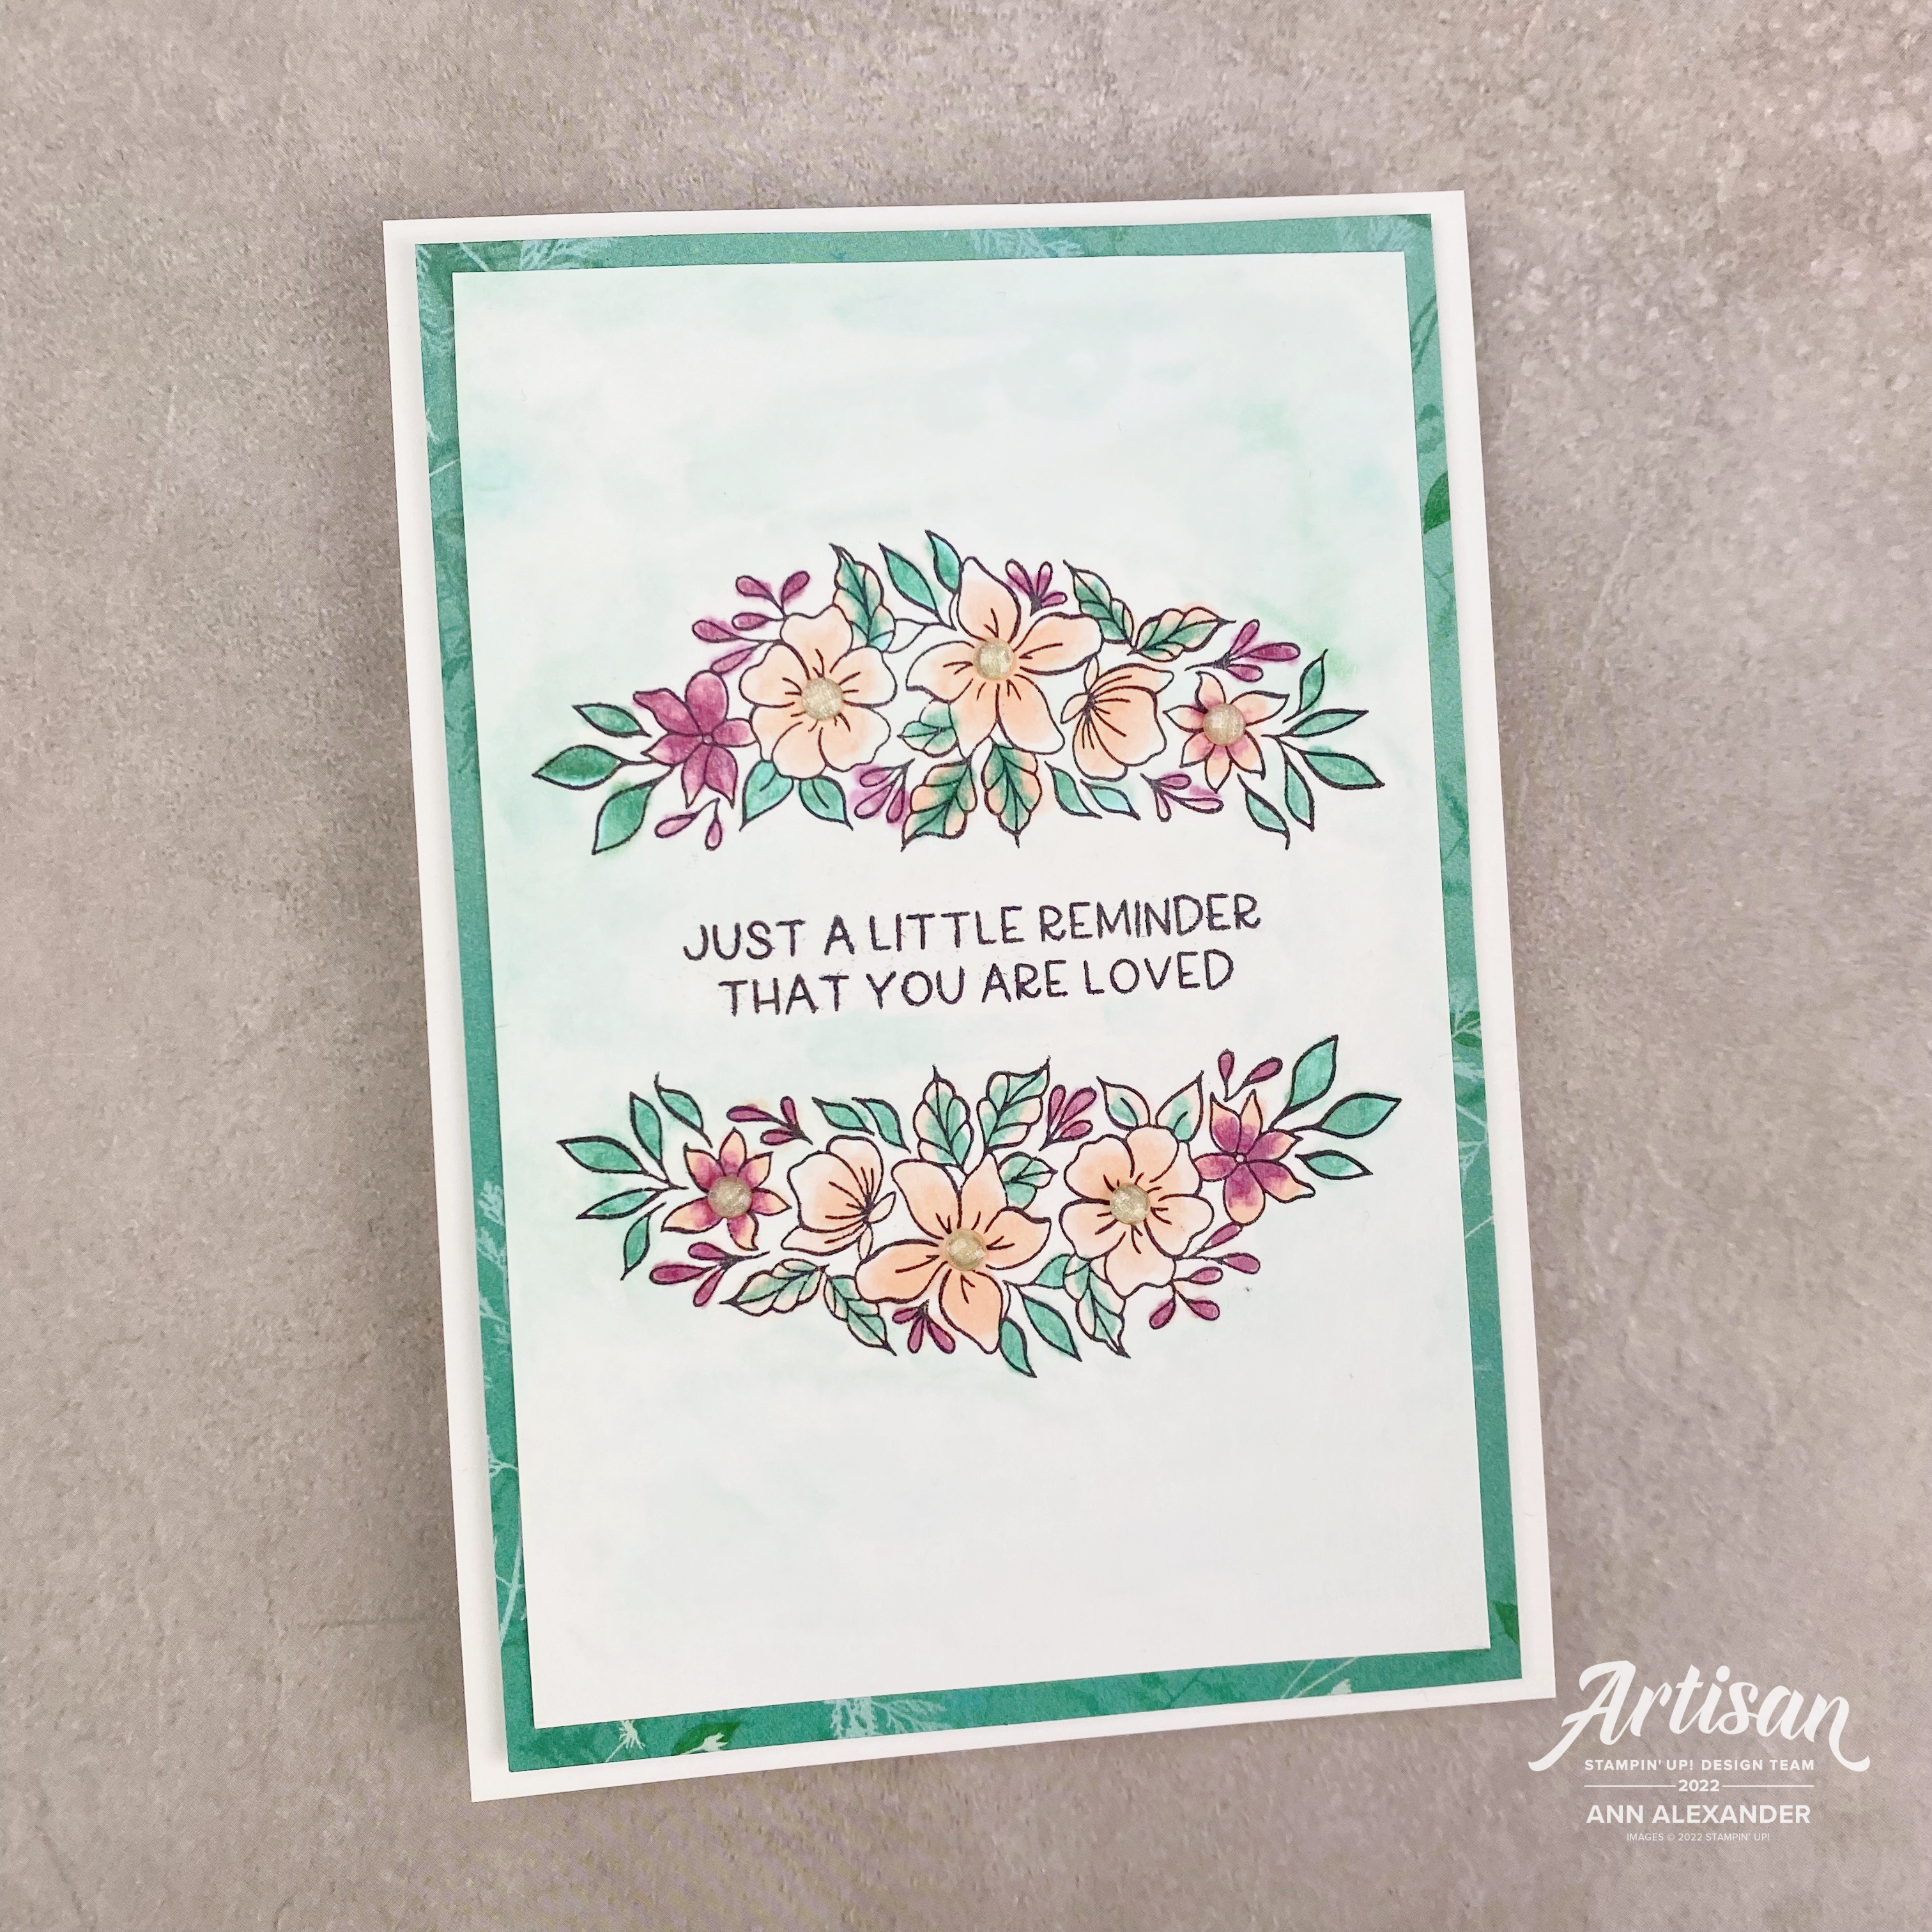
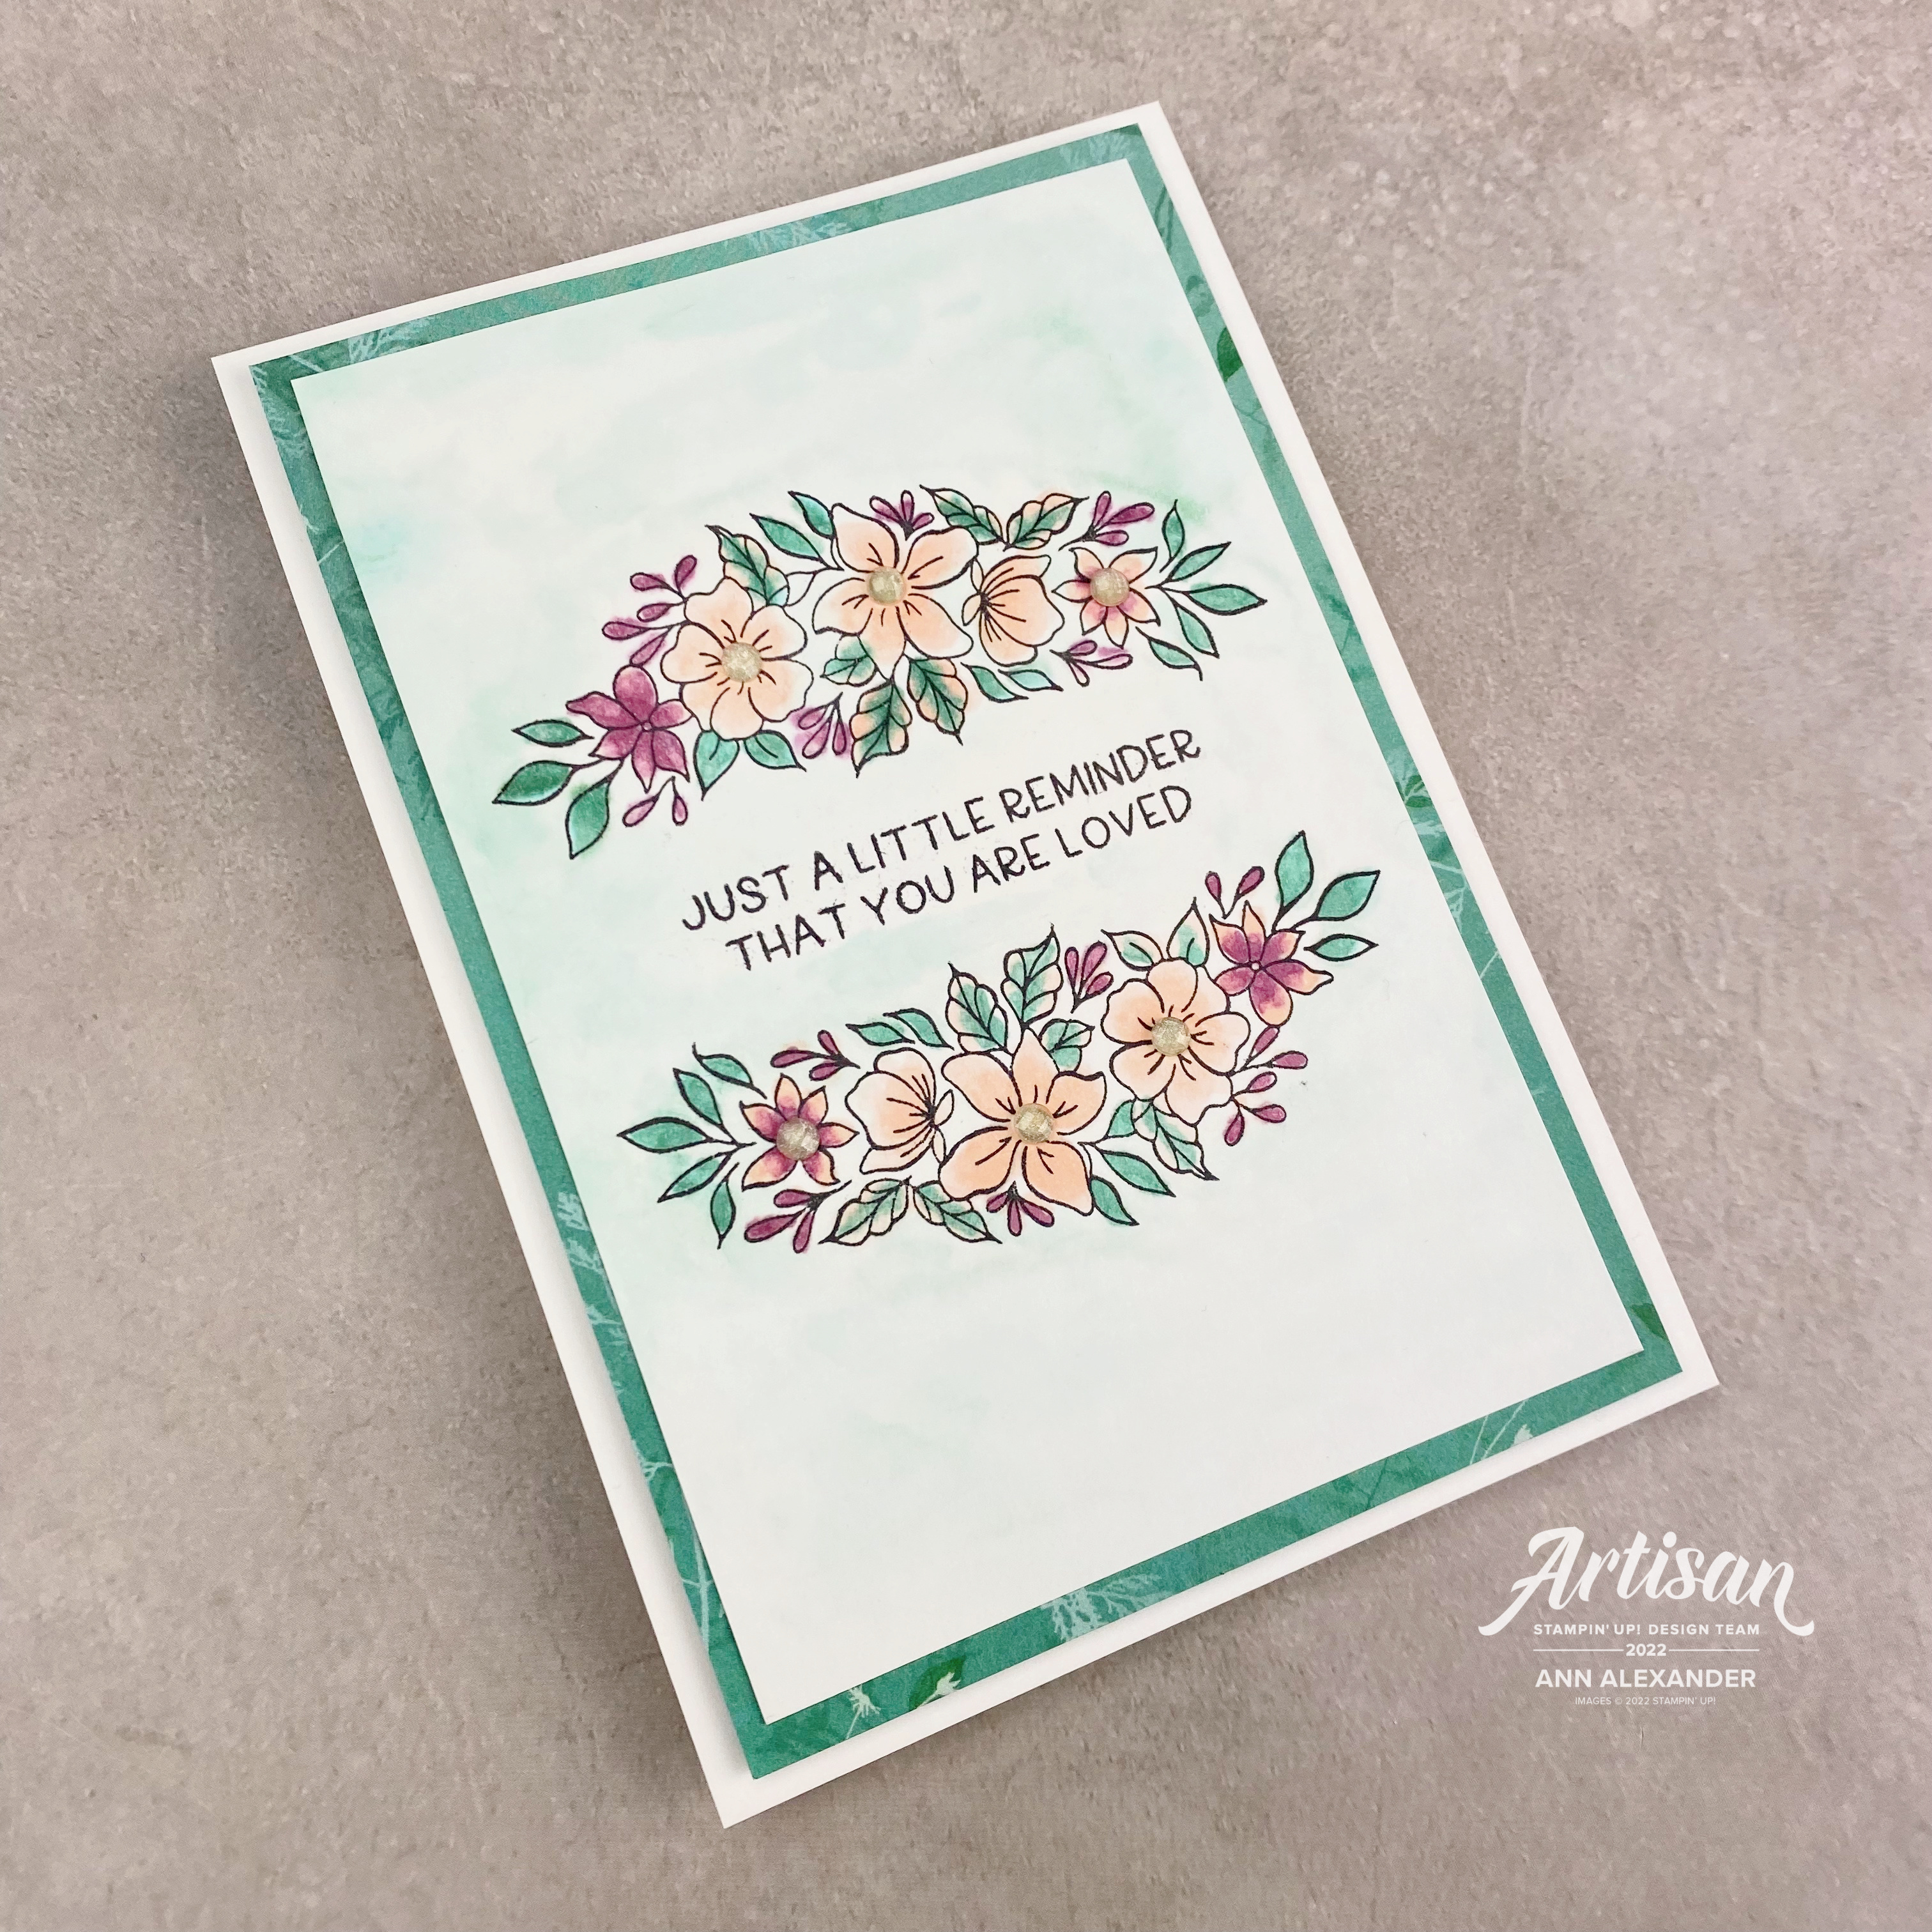
Just A Little Reminder - Framed Florets - JAI628 Just Add Ink Colour Challenge

Just A Little Reminder - Framed Florets - JAI628 Just Add Ink Colour Challenge


Hello again and welcome back to my blog! I have another Just Add Ink Design Team post for you today. 

This week's challenge is the Just Add Ink #JAI627 - Just Add A Colour Challenge  . This week for our colour challenge (suggested by me ☺️) we are using Petal Pink, Bermuda Bay and Blackberry Bliss. I used the brand new Framed Florets stamp, coloured the images with Stampin' Blends and used the Pretty Prints DSP for layering. 

Click HERE if you would like to be taken straight to my store.


Instructions:

- Use a piece of Basic White card A4 card cut lengthwise and folded. Layer with a piece of Pretty Prints DSP. 

- Stamp the florals and sentiment from the Framed Florets set onto Basic White using Tuxedo Black ink. Colour the images with Stampin' Blends (Petal Pink, Bermuda Bay and Blackberry Bliss). Colour the background using Bermuda Bay scribbled onto plastic and sprayed with rubbing alcohol and applied to the page. Finish off with Elegant Faceted Gems applied to the flower centres. 

_______________________________________________

Will you be entering our challenge this week? We would love to see your colourful creations. Click the image below to be taken straight to this weeks challenge.

___________________________________________________________________

I have a new tutorial bundle available this month. The November 2022 Create With Us Tutorial Bundle features 15 tutorials from Stampin' Up!® designers from around the world and this month we have all created projects using Heat Embossing Techniques. 


Visit my Tutorial Page HERE to purchase this bundle.
____________________

I also have a tutorial bundle available highlighting the Splendid Day Suite Collection containing 27 Tutorials from myself and demonstrators from all over the world. All tutorials contain measurements in both Imperial and Metric.


Visit my Tutorial Page HERE for more information, or visit the top of this page and click the link.
_______________________________

Subscribe to my newsletter HERE

My NOVEMBER 2022 Host Code: 34RWU93W . When you spend over $40 in my store, you will receive a handmade card and a FREE gift from me.

If you would like to purchase any of these supplies, please click here. 

Please email me if you would like a copy of the 2022-2023 Annual Catalogue or the July-Dec 2022 Mini Catalogue.

Click to JOIN my team. 

If you would like regular updates from me, click my newsletter link here.

Follow me on social media via Facebook, Instagram and Pinterest.

Hope you are getting some crafty time today, chat soon!

Product List: 
Read more »
Annie A
0 Comments
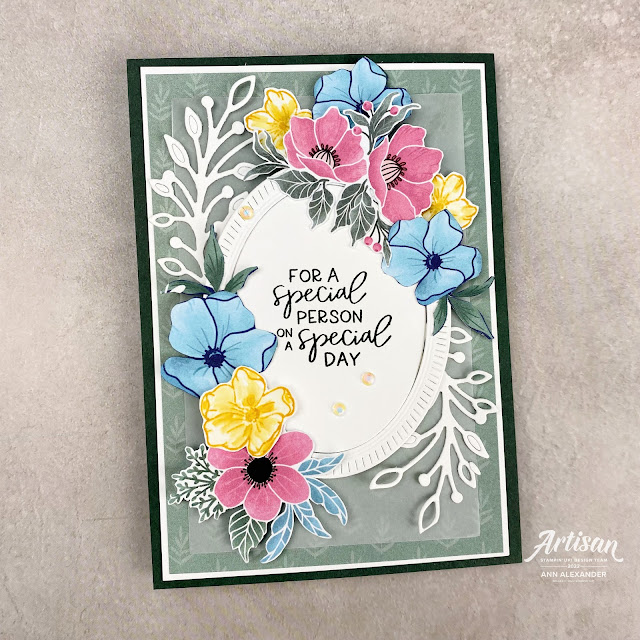
For A Special Person - Fitting Florets - Demonstrator Training Program Blog Hop

For A Special Person - Fitting Florets - Demonstrator Training Program Blog Hop


My card for today is for Kylie and Bruno Bertucci's Demonstrator Training Program Fitting Florets Blog Hop. I am so happy that you could join my fellow demonstrators and I today for this blog hop, which I hope will provide you with many ideas and creative inspiration. This bundle is available now to customers from November 1st.

We are a group of Stampin' Up!® Demonstrators from around the world that are taking part in training that is helping us to build a successful Stampin' Up!® business and we really appreciate your support!

You may be starting here or may have come from another blog - either way you can find the link list at the bottom of this post so that you can see every blog post and idea today.

For my card today, I used the Framed Florets stamp set, Framed Florets Dies and the Fitting Florets DSP.


Instructions:

- Use a piece of Evening Evergreen card for the card base and mat with a piece of Basic White card, then the Fitting Florets DSP and finally with a piece of Vellum

- Use the Framed Florets Dies to die cut an oval, a frame and leaf pieces from Basic White card. Stamp a sentiment from the Framed Florets stamp set onto the oval piece using Tuxedo Black ink and then adhere all these pieces to the card. Stamp some of the flowers from the Frames Florets set onto Basic White card using Crushed Curry ink and use a Blender Pen to draw some of the colour into the centre of the flower. 

- Fussy cut flowers from the Fitting Florets DSP and arrange these flowers with the stamped flowers around the oval frame. Add some Iridescent Rhinestone Basic Jewels to the card to finish.


Thanks so much for stopping by today!

As I mentioned at the top, this is a blog hop so make sure you 'hop' around to all the amazing projects from my fellow demonstrators on this hop! Click on the links below to visit them.

BLOG LINKS:

Please contact me if you have any questions! **
_______________________________

I have a new tutorial bundle available this month. The November 2022 Create With Us Tutorial Bundle features 15 tutorials from Stampin' Up!® designers from around the world and this month we have all created projects using Heat Embossing Techniques. 


Visit my Tutorial Page HERE to purchase this bundle.
____________________

I also have a tutorial bundle available highlighting the Splendid Day Suite Collection containing 27 Tutorials from myself and demonstrators from all over the world. All tutorials contain measurements in both Imperial and Metric.


Visit my Tutorial Page HERE for more information, or visit the top of this page and click the link.
_______________________________

Subscribe to my newsletter HERE

My NOVEMBER 2022 Host Code: 34RWU93W . When you spend over $40 in my store, you will receive a handmade card and a FREE gift from me.

If you would like to purchase any of these supplies, please click here. 

Please email me if you would like a copy of the 2022-2023 Annual Catalogue or the July-Dec 2022 Mini Catalogue.

Click to JOIN my team. 

If you would like regular updates from me, click my newsletter link here.

Follow me on social media via Facebook, Instagram and Pinterest.

Hope you are getting some crafty time today, chat soon!

Product List: 
Read more »
Annie A
16 Comments
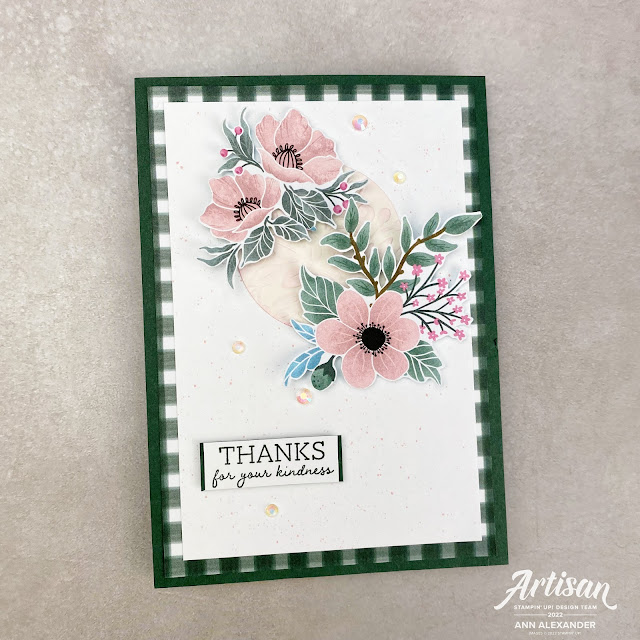
Thank You For Your Kindness - Apple Harvest - Demonstrator Training Program - Monthly Blog Hop October 2022

Thank You For Your Kindness - Apple Harvest - Demonstrator Training Program - Monthly Blog Hop October 2022


My card for today is for Kylie and Bruno Bertucci's Demonstrator Training Program Blog Hop October 2022. I am so happy that you could join my fellow demonstrators and I today for this blog hop, which I hope will provide you with many ideas and creative inspiration. The theme is "Thank You".

We are a group of Stampin' Up!® Demonstrators from around the world that are taking part in training that is helping us to build a successful Stampin' Up!® business and we really appreciate your support!

You may be starting here or may have come from another blog - either way you can find the link list at the bottom of this post so that you can see every blog post and idea today.

For my card today, I used the Apple Harvest stamp set and the upcoming Fitting Florets DSP which is part of the Fitting Florets Collection (available to customers in November). I also used the Elegant Eucalyptus 3D Embossing Folders.


Instructions:

- Use a piece of Evening Evergreen for the card base and mat with a piece of the Fitting Florets DSP. Layer with a piece of Basic White that has had Blushing Bride ink splattered onto it. 

- Use a 2' circle punch (or die) to punch a circle from Very Vanilla card. Emboss with the Elegant Eucalyptus 3D Embossing Folders, apply a little Polished Pink ink to the raised areas using a Blending Brush and adhere to the card. Fussy cut images from the Fitting Florets DSP and adhere around the embossed circle.


Stamp a sentiment from the Apple Harvest stamp set using Evening Evergreen ink onto Basic White and mat with a piece of Evening Evergreen Card. Add some Iridescent Rhinestone Basic Jewels to the card to finish.


Thanks so much for stopping by today!

As I mentioned at the top, this is a blog hop so make sure you 'hop' around to all the amazing projects from my fellow demonstrators on this hop! Click on the links below to visit them.

BLOG LINKS:


Please email me if you have any questions**
________________________________________

I have a new tutorial bundle available this month. The October 2022 Create With Us Tutorial Bundle features 15 tutorials from Stampin' Up!® designers from around the world and this month we have all created Seasonal Fun Folds. I have seen all the projects and they are spectacular. You won't want to miss this bundle. 

Visit my Tutorial Page HERE to purchase this bundle.
____________________

I also have a tutorial bundle available highlighting the Splendid Day Suite Collection containing 27 Tutorials from myself and demonstrators from all over the world. All tutorials contain measurements in both Imperial and Metric.


Visit my Tutorial Page HERE for more information, or visit the top of this page and click the link.
_______________________________

Subscribe to my newsletter HERE

My OCTOBER 2022 Host Code: SM6GNXDM . When you spend over $40 in my store, you will receive a handmade card and a FREE gift from me.

If you would like to purchase any of these supplies, please click here. 

Please email me if you would like a copy of the 2022-2023 Annual Catalogue or the July-Dec 2022 Mini Catalogue.

Click to JOIN my team. 

If you would like regular updates from me, click my newsletter link here.

Follow me on social media via Facebook, Instagram and Pinterest.

Hope you are getting some crafty time today, chat soon!

Product List:

Read more »
Annie A
6 Comments
I am an Independent Stampin' Up! Demonstrator