Hello and welcome back to my blog! My card for today is for the FAB Instahop Design Team Monthly hop. We are a team of demonstrators from all over the world who are sharing creations on Instagram sparked by monthly challenges.
This month our challenge is to create a card inspired by our "Favourite Artist". One of my very favourite artists is the Impressionist painter Claude Monet.
The Masterfully Made DSP in particular reminds me of the Garden at Giverney (see below for my inspiration picture (obtained from Wikipedia).
In addition to the Masterfully Made DSP, I also used the Gorgeously Made Bundle (stamp set and dies) and the 2 3/8" Circle Punch. I tried to keep my card simple to really highlight the beautiful DSP.
Visit my Instagram page HERE to see all the creations from the rest of the team.
Garden of Giverney (source - Wikipedia)
Instructions:
- For the card base, use a piece of Basic White cut in half lengthwise and folded. Layer with a piece of Azure Afternoon card and then a piece of Lost Lagoon card. Finally layer a piece of the Masterfully Made DSP on top.
- Use a 2 3/8" circle punch to cut a circle from Fresh Freesia card. Stamp the text stamp from the Gorgeously Made set onto the circle using Fresh Freesia ink (second generation stamping). Also use the Thank You sentiment from the set with Azure Afternoon ink on Basic White card to stamp the sentiment.
- Die cut a leaf from Basic White and a border from Azure Afternoon using the Gorgeously Made Dies. Layer the leaf onto the circle and and the sentiment onto the border to complete the card.
______________________________
My NOVEMBER 2023 Host Code: QPQYKKWM. When you spend over $40 in my store, you will receive a handmade card and a FREE gift from me.
If you would like to purchase any of these supplies, please click here.
Please email me if you would like a copy of the 2023-2024 Annual Catalogue or the September - December 2023 Mini Catalogue.
Hello and welcome back to my blog! My card for today is for the FAB Instahop Design Team Monthly hop. We are a team of demonstrators from all over the world who are sharing creations on Instagram sparked by monthly challenges.
This month our challenge is "Favourite Christmas Carol". I do have many Favourite Christmas Carols, but as we celebrate Christmas in summer here in Australia, I wanted to use a "classic" Australian Carol.
There are two Christmas Carols - the 12 Days of Aussie Christmas and Aussie Jingle Bells that fill the brief for me. My favourite of the two is the 12 Days of Aussie Christmas where there are 5 "Rusty Utes" instead of 5 Gold Rings. See below for the full video of the 12 Days of Aussie Christmas Carol. Also click HERE if you would like to see the Aussie Jingle Bells video as well (It is well worth a watch as they are both quintessentially Aussie).
For my card, I used the Trucking Along Bundle, Merry Melody 3D Embossing Folder, Deckled Circles Dies, Merry Bold & Bright DSP and Stampin' Blends to colour the images and give the appearance of a "Rusty Ute". I used brighter non traditional colours for the card, to mimic the summery feel to an Australian Christmas.
Visit my Instagram page HERE to see all the creations from the rest of the team.
Instructions:
- For the card base, use a piece of Melon Mambo cut in half lengthwise and folded. Layer with a piece of Granny Apple Green card and then a piece of Merry Bold & Bright DSP.
- Die cut a piece of Basic White card the Deckled Circles Dies and emboss with the Merry Melody Embossing Folder. Stamp the image from the Trucking Along stamp set onto Basic White using Pebbled Path ink. Punch out using the coordinating punch. Colour the image with Stampin' Blends (Blueberry Bushel, Pool Party, Wild Wheat, Flirty Flamingo, Granny Apple Green, Lemon Lime Twist and Melon Mambo).
- Stamp a sentiment from the Trucking Along stamp set onto Basic White using Melon Mambo ink and adhere.
______________________________
My OCTOBER 2023 Host Code: MVCSDJRC . When you spend over $40 in my store, you will receive a handmade card and a FREE gift from me.
If you would like to purchase any of these supplies, please click here.
Please email me if you would like a copy of the 2023-2024 Annual Catalogue or the September - December 2023 Mini Catalogue.
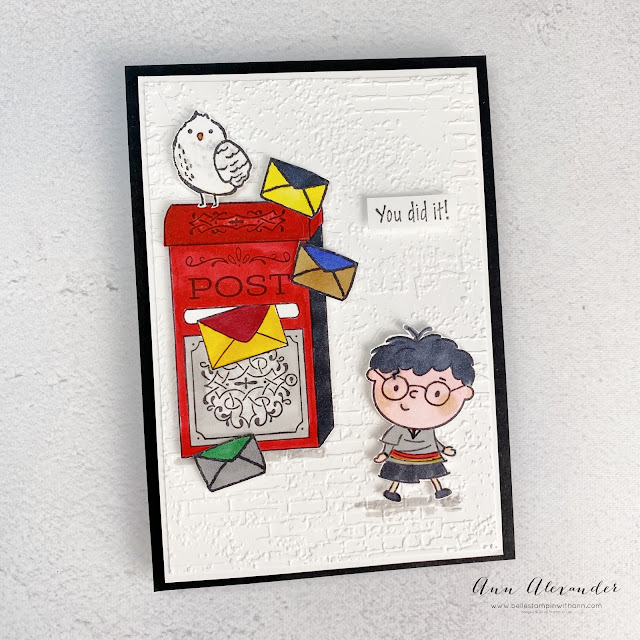
Hello and welcome back to my blog! My card for today is for the FAB Instahop Design Team Monthly hop. We are a team of demonstrators from all over the world who are sharing creations on Instagram sparked by monthly challenges. This month our challenge is "Favourite Children's Book". I have many many favourite books but one of the favourites in our house is the Harry Potter series of books by J. K. Rowling.
For my card, I used 4 separate stamp sets to create the effect. I used By My Side (Harry and the sentiment), Bird's Eye View (bird/owl), Stamped with Love (post box) and Just My Type for the envelopes. I used the Exposed Brick Embossing Folder to add texture to the background and also Stampin' Blends to add the various House colours to the envelopes and uniform for the Harry character.
Visit my Instagram page HERE to see all the creations from the rest of the team.
Instructions:
- For the card base, use a piece of Basic Black cut in half lengthwise and folded. Layer with a piece of Basic White and then another piece of Basic White embossed with the Exposed Brick Embossing Folder.
- Stamp multiple images from the By My Side (Harry and the sentiment), Bird's Eye View (bird/owl), Stamped with Love (post box) and Just My Type (envelopes) sets. Colour with Stampin' Blends.
- Stamp a sentiment from the By My Side set using Tuxedo Black ink onto Basic White and adhere. Add some ground for the images using Smoky Slate Stampin' Blends to complete.
______________________________
I have a tutorial bundle available. This Create With Us Tutorial Bundle features 15 tutorials from Stampin' Up!® designers from around the world and this month we have all created projects that highlight the Rain or Shine Suite Collection. This is an amazing tutorial with so many fantastic ideas.
Visit my Tutorial Page HERE to purchase this bundle or to see other bundles available.
Hello and welcome back to my blog! My card for today is for the FAB Instahop Design Team Monthly hop. We are a team of demonstrators from all over the world who are sharing creations on Instagram sparked by monthly challenges. This month our challenge is "Favourite Flowers". Now I love many of the flower sets from Stampin' Up!® but have been loving the Cheerful Daisies set recently particularly the coordinating dies.
For my card, I used the Cheerful Daisies Bundle (stamp set and dies) combined with some ink blending to create lots of daisies for my card. I also added the Lemon Lolly 2023-2025 In Colour Dots.
Visit my Instagram page HERE to see all the creations from the rest of the team.
Instructions:
- For the card base, use a piece of Basic White cut in half lengthwise and folded. Layer with a piece of Wild Wheat splattered with Whisper White ink (use the refill) .
- Die cut multiple daisies and branches using the Cheerful Daisies dies from Basic White card. Add some Bubble Bath ink to the first layer of daisies using a small Blending Brush.
- Layer the other daisy pieces on top and adhere to the card. Use a Blending Brush to apply Wild Wheat to the branches and then adhere these to the card.
- Stamp a sentiment using Bubble Bath ink onto Basic White and adhere. Add some Wild Wheat 2023-2025 In Colour Dots to complete.
______________________________
I have a tutorial bundle available. This Create With Us Tutorial Bundle features 15 tutorials from Stampin' Up!® designers from around the world and this month we have all created projects that highlight the Rain or Shine Suite Collection. This is an amazing tutorial with so many fantastic ideas.
Visit my Tutorial Page HERE to purchase this bundle or to see other bundles available.
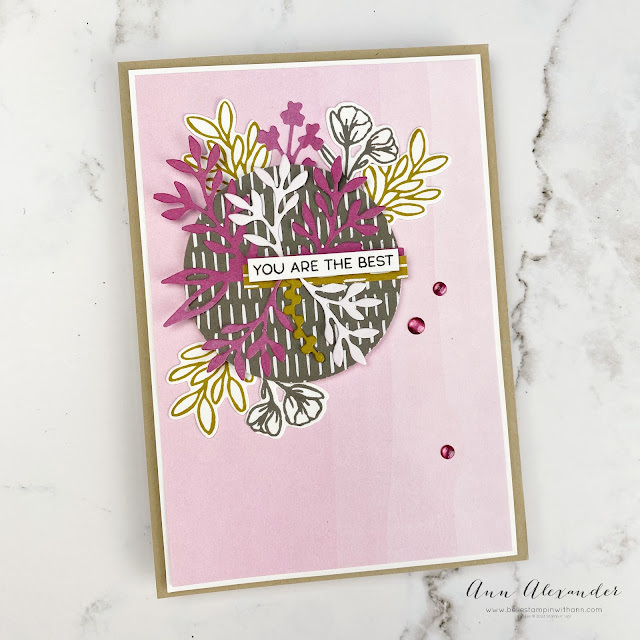
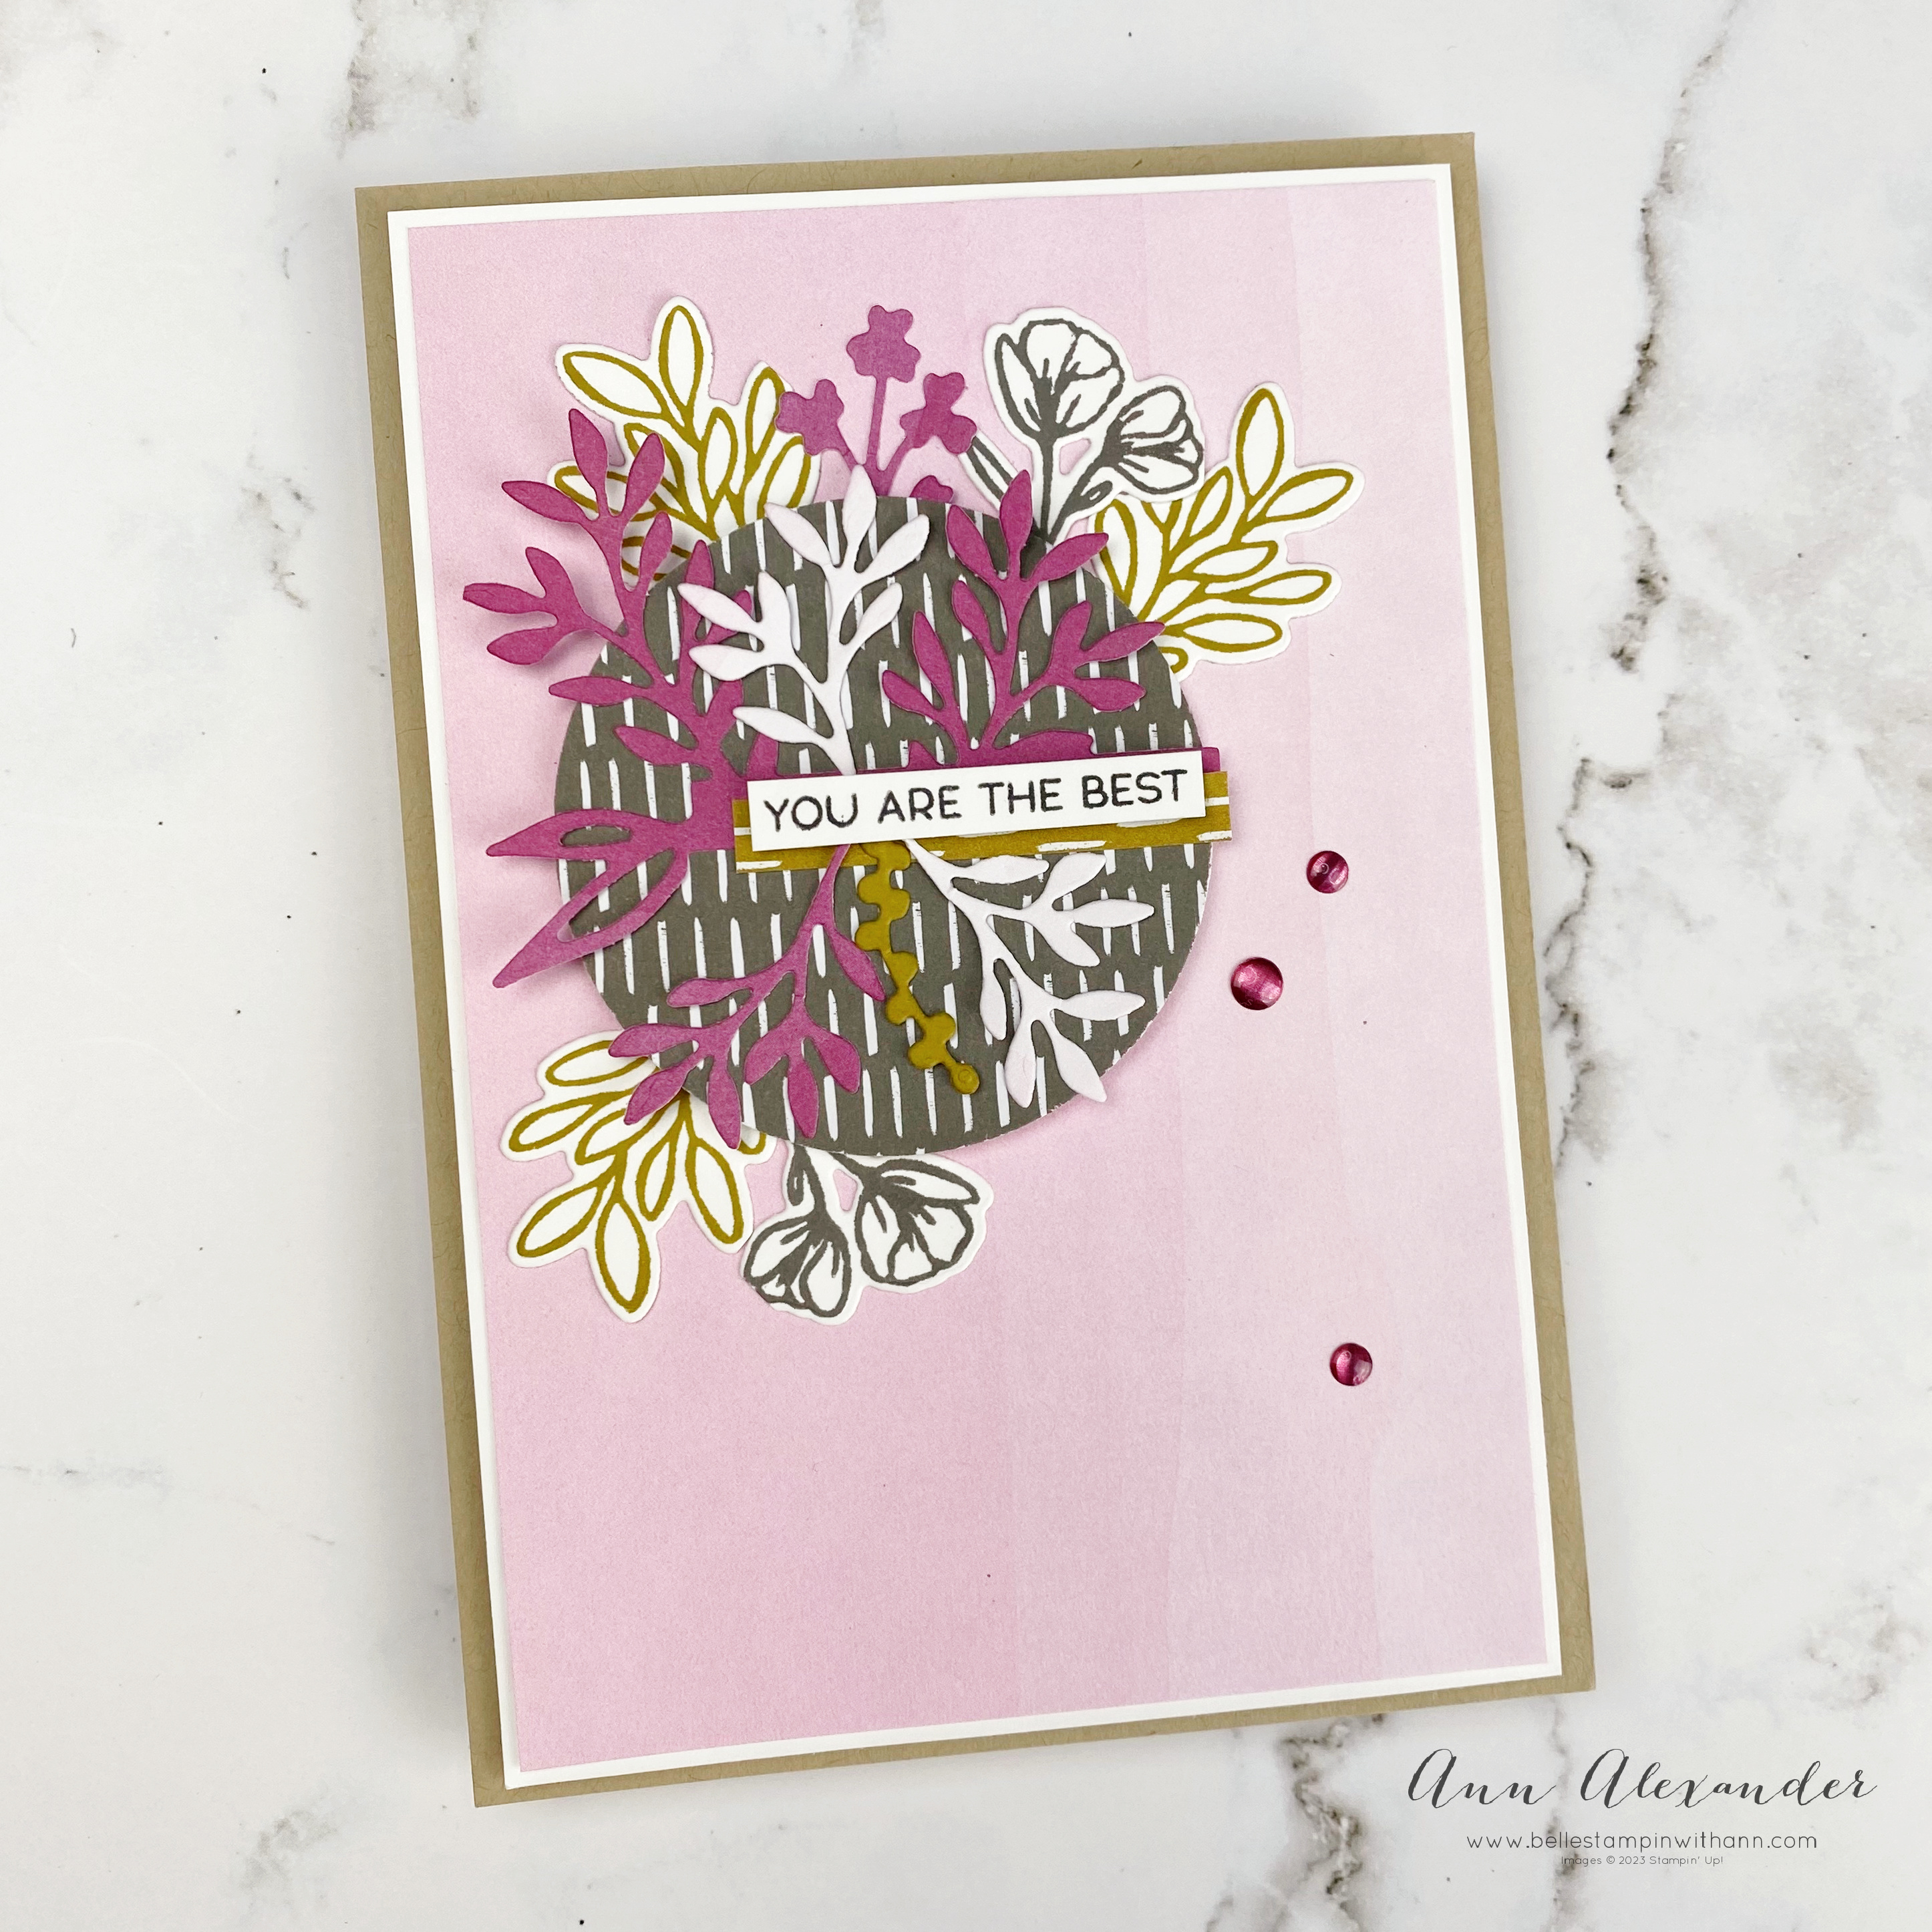
Hello and welcome back to my blog! My card for today is for the FAB Instahop Design Team Monthly hop. We are a team of demonstrators from all over the world who are sharing creations on Instagram sparked by monthly challenges. This month our challenge is "Favourite Colour Combination". Pinks are always a favourite so when Stampin' Up!® brought out new Bubble Bath and Berry Burst I had to incorporate those colours into this challenge. I combined them with two new favourite 2023-2025 In Colours and Crumb Cake (and a tiny spot of Moody Mauve in the gems).
I used the Timeless Arrangements Bundle (stamp set and dies) combined with the Bright & Beautiful DSP and the 2023-2025 In Colour DSP. I also added the Moody Mauve 2023-2025 In Colour Dots.
Visit my Instagram page HERE to see all the creations from the rest of the team.
Instructions:
- Use a piece of Crumb Cake card for the card base, and layer with Basic White card and then a piece of the Bubble Bath coloured Bright & Beautiful DSP.
- Use a 2 3/8" Circle Punch to punch out a piece of the Pebble Path 2023-2025 In Colour DSP. Stamp leaves and flowers from the Timeless Arrangements set onto Basic White card using Wild Wheat and Pebbled Path ink respectively.
- Die cut leaves from a piece of the Bright & Beautiful DSP (Berry Burst and Bubble Bath in colour) as well as from Wild Wheat cardstock. Adhere the pieces on top of the punched DSP circle.
- Stamp the sentiment from the Timeless Arrangment set on Basic White using Tuxedo Black ink and layer onto a strip of the Wild Wheat 2023-2025 In Colour DSP and then onto the card. Add some Moody Mauve 2023-2025 In Colour to complete.
______________________________
I have a tutorial bundle available. This Create With Us Tutorial Bundle features 15 tutorials from Stampin' Up!® designers from around the world and this month we have all created projects that highlight the Rain or Shine Suite Collection. This is an amazing tutorial with so many fantastic ideas.
Visit my Tutorial Page HERE to purchase this bundle or to see other bundles available.
Hello and welcome back to my blog! I am so pleased to announce that I am joining the FAB Instahop Design Team Monthly Instahop and today's cards are my first as a DT member. We are a team of demonstrators from all over the world who are sharing creations on Instagram sparked by monthly challenges. This month our challenge is "Favourite New Product" from the brand new 2023-2024 Annual Catalogue from Stampin' Up!®.
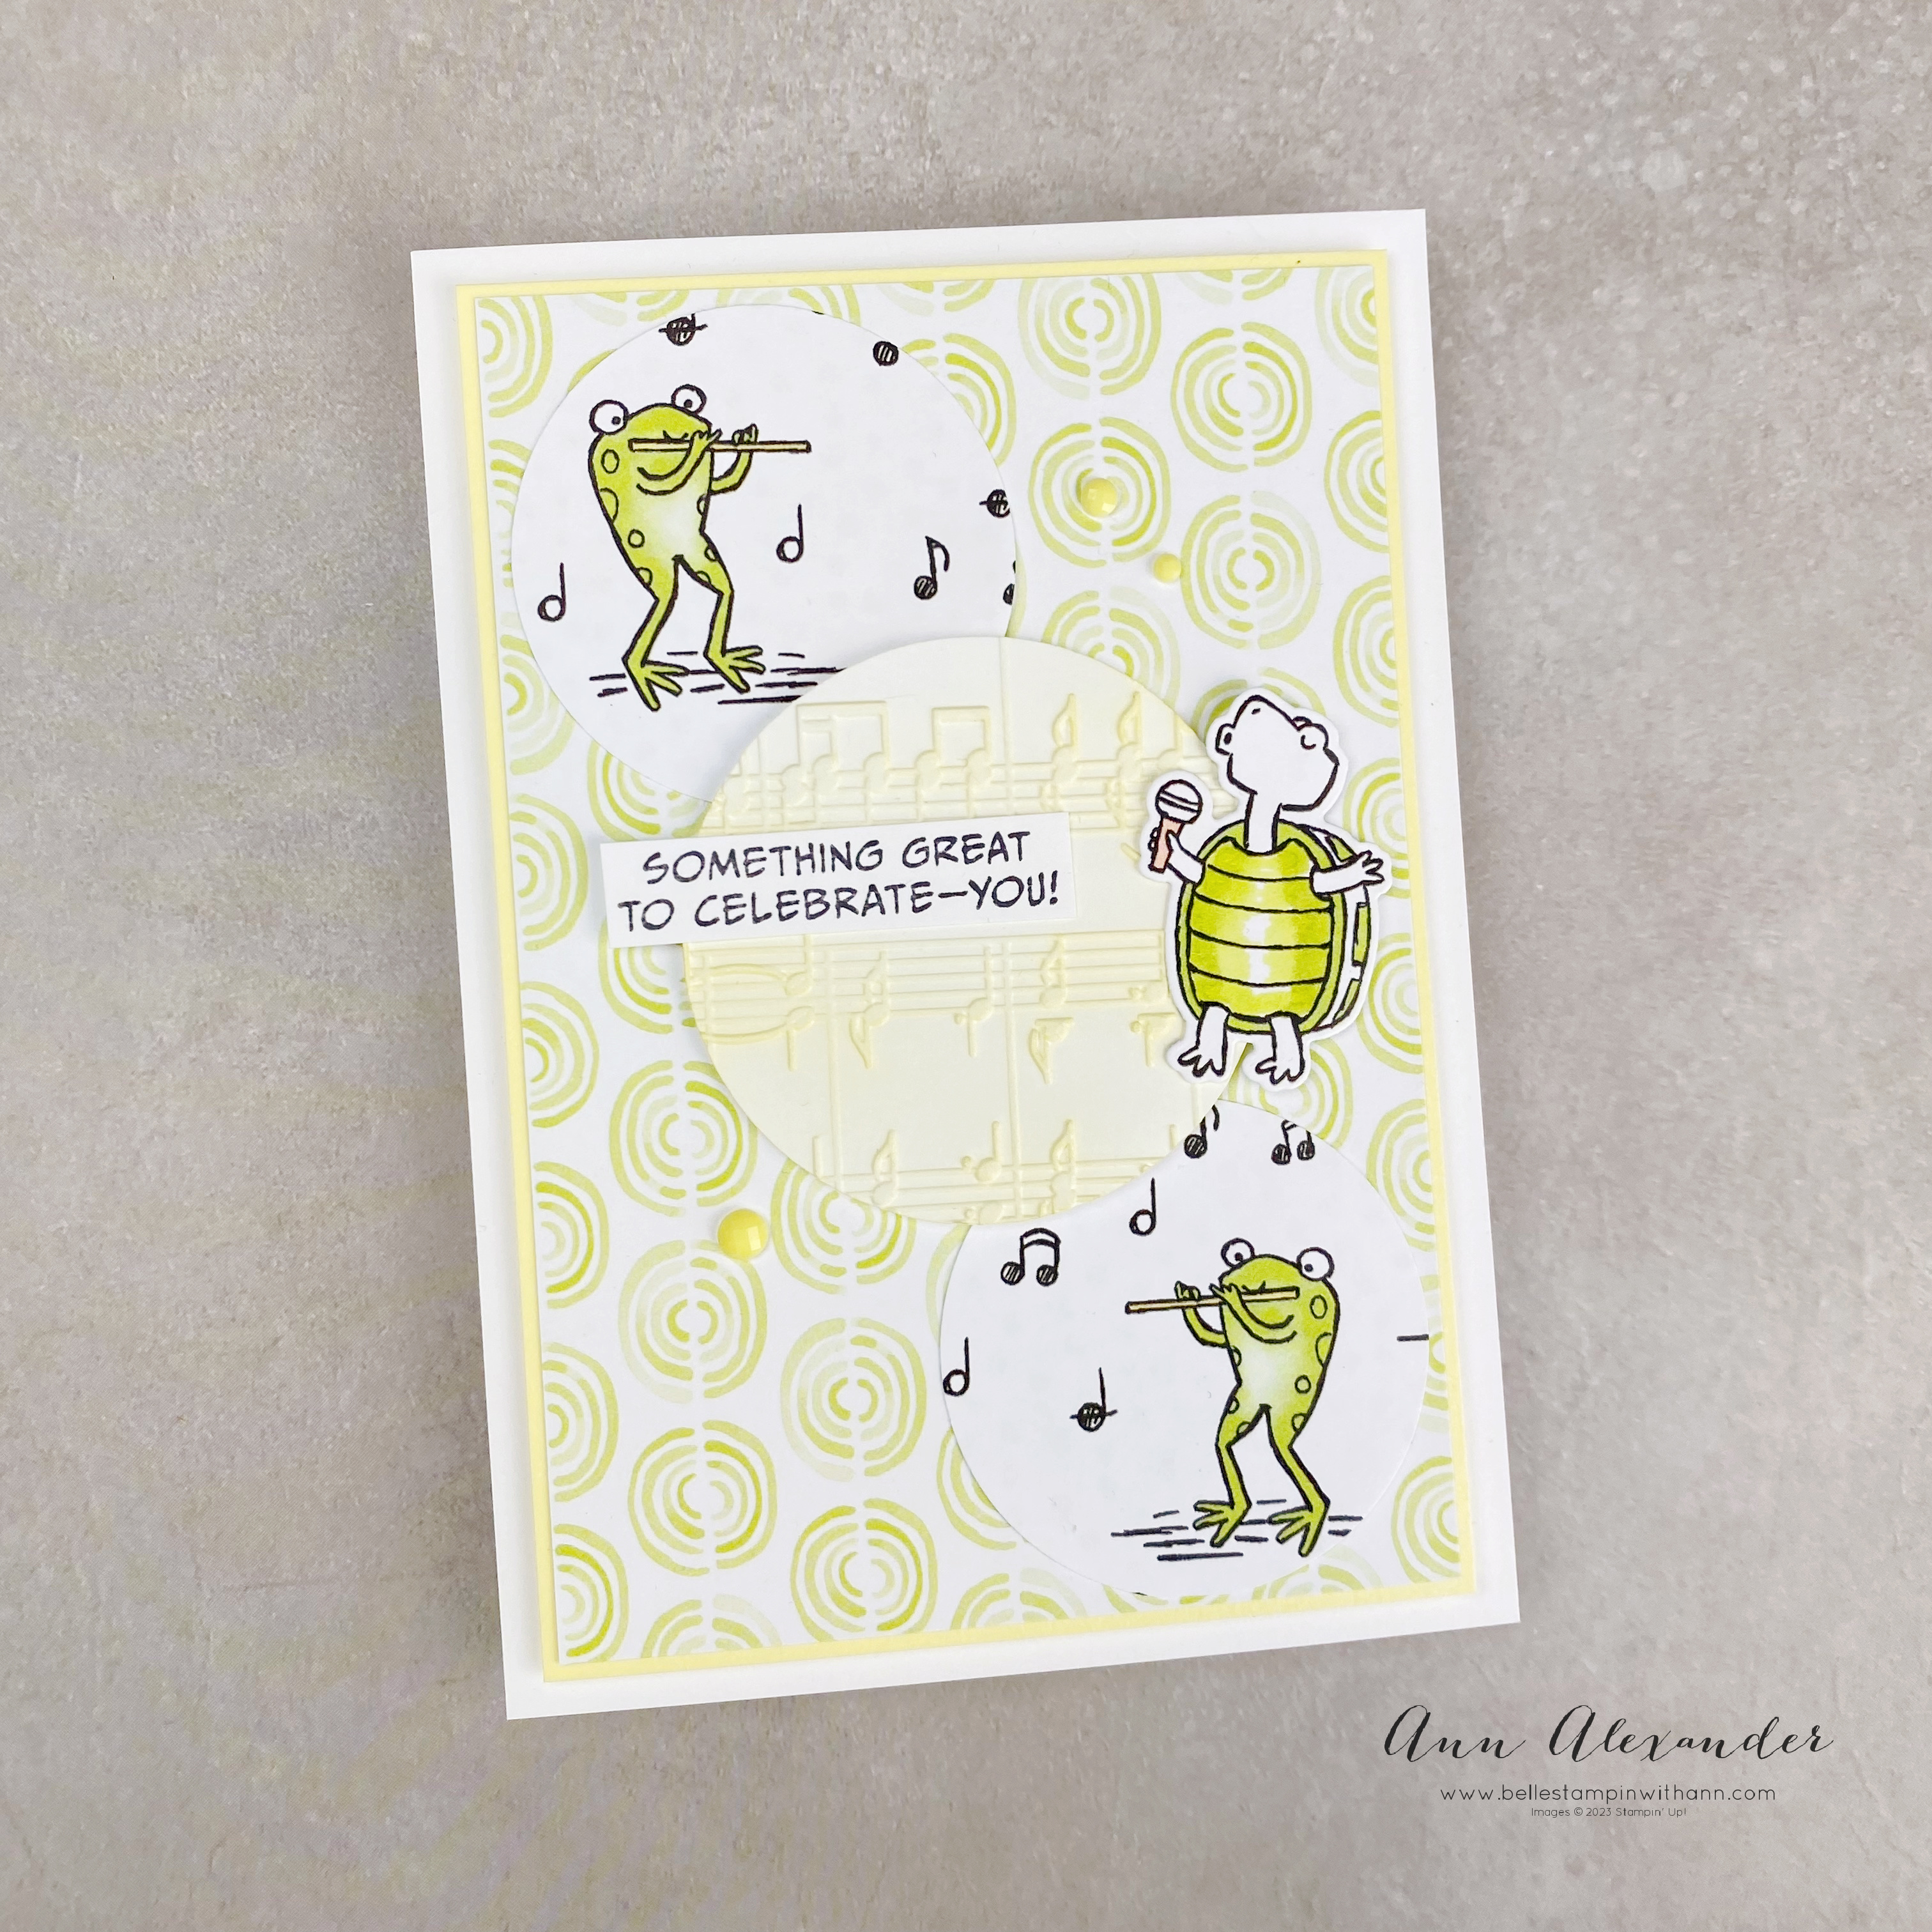
I actually love many things from the new catalogue but one of my absolute favourites is the Zoo Crew Suite Collection which consists of the Zany Zoo Bundle (Zany Zoo stamp set & Zany Zoo Dies), Zoo Crew DSP and the coordinating Ribbon Combe Pack. I used all of these on my cards. I also used the Bright & Beautiful DSP, Tailor Made Tags Dies and Stampin' Blends.
Instructions Card 1:
- Use a piece of Basic White card for the card base, and layer with Lemon Lolly card and then a piece of the Bright & Beautiful DSP.
- Use a 2" Circle Punch to punch out the frogs from the Zoo Crew DSP. Use the Zany Zoo Dies to die cut the singing turtle from the Zoo Crew DSP. Add some colour to the turtle with the Lemon Lime Twist Stampin' Blends.
- Use the 2 3/8" Punch to punch a circle from Basic White and then use the Merry Melody 3D Embossing Folder to emboss. Apply Lemon Lolly ink with a Blending Brush to the punched circle. Adhere the punched circles onto the card front.
- Stamp the sentiment from the Zany Zoo set on Basic White using Tuxedo Black ink and adhere. Add some Lemon Lolly Adhesive-Backed Solid Gems to complete.
Instructions Card 2:
- Use a piece of Lemon Lolly card for the card base, and layer with a smaller piece of Basic White card and then a piece of the Bright & Beautiful DSP.
- Use the Tailor Made Tags Dies to die cut a tag from the opposite side of the circle DSP. Use the Lemon Lime Twist ribbon from the Ribbon Duo Combo Pack and tie it onto the tag.
- Die cut the Racoon and Balloon from the Zoo Crew DSP using the Zany Zoo Dies. Colour the Racoon with Wild Wheat, Pecan Pie and Petal Pink Stampin' Blends.
- Stamp the sentiment from the Zany Zoo set on Basic White using Tuxedo Black ink and cut down to "Happy Birthday" and adhere. Adhere the die cut balloon and add some Lemon Lolly Adhesive-Backed Solid Gems to complete.
______________________________
I have a tutorial bundle available. The March 2023 Create With Us Tutorial Bundle features 15 tutorials from Stampin' Up!® designers from around the world and this month we have all created projects that highlight the Rain or Shine Suite Collection. This is an amazing tutorial with so many fantastic ideas.
Visit my Tutorial Page HERE to purchase this bundle or to see other bundles available.