Hello and welcome to my blog! Today I am sharing my October monthly showcase projects for the Stampin' Up!® Artisan Design Team!
For this month's projects, I was asked to use products from the Stampin' Up!® 2022-2023 Mini Catalogue, the "Sweetest Christmas " Suite Collection which includes the Sweet Candy Canes Stamp Set, Candy Canes Dies, Christmas Banners Stamp Set, Christmas Banner Dies, Sweetest Christmas DSP, Real Red & White Glimmer Paper, Real Red & Garden Green Ribbon Combo Pack and Adhesive Backed Seasonal Sequins. This is such a wonderful collection and filled with so many things to make your your Christmas crafting easy. I hope that the projects I have made inspire you to create something using this lovely collection! Don't forget to visit the Stampin' Up!® Corporate Facebook Page (here) or the Stampin' Up Official Instagram page (here) to see what the other Artisan Team Members have created with this set.
Here is the Sweetest Christmas Suite Collection:
Here is the Sweet Candy Canes Bundle:
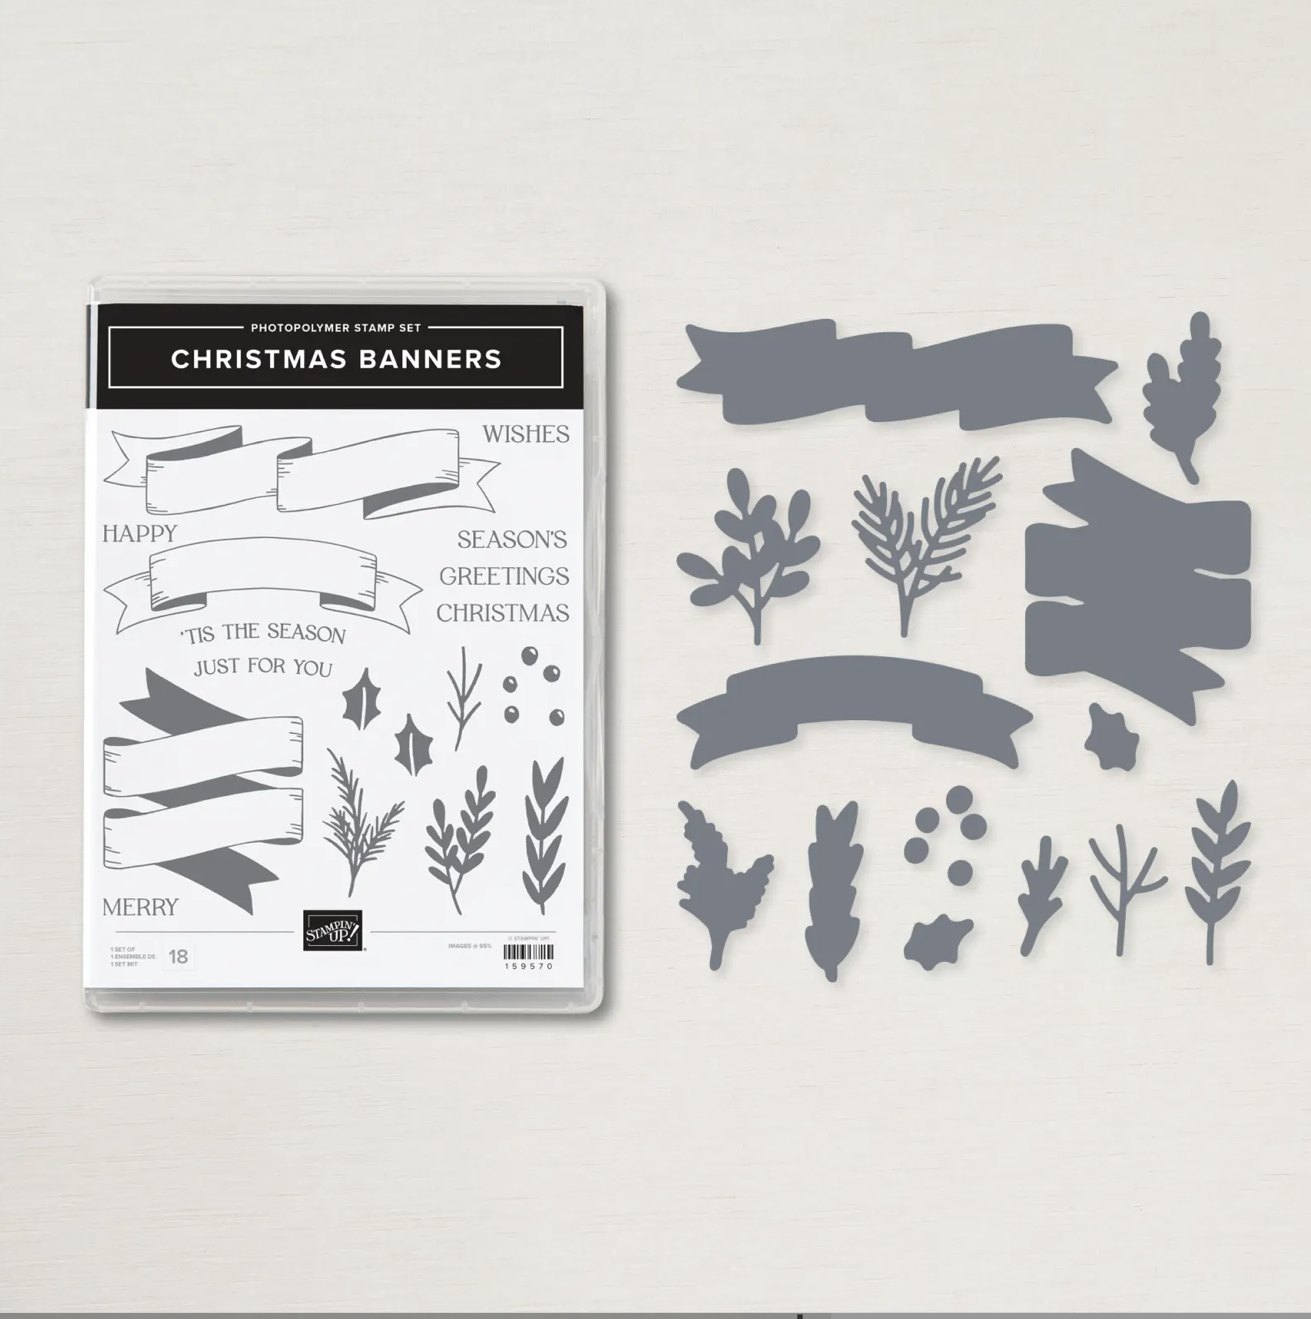
Here is the Christmas Banners Bundle:
'Tis The Season Instructions:
- Use a Basic White card base layered with Sweet Sorbet. Die cut a piece of Basic White with the diagonal die from Candy Canes Dies. Mat the back of this piece with Real Red Glimmer Paper and fill back in some of the Basic White die cut pieces back into the diagonal piece.
- Stamp multiple leaves from the Christmas Banners stamp set using Garden Green ink on Basic White and use the Christmas Banners Dies to cut. Adhere to the front of the card and use the Adhesive-Backed Seasonal Sequins to create the appearance of berries.
- Stamp the sentiment from the Christmas Banners set onto Basic White using Garden Green ink. Die cut using the Christmas Banners Dies. Die cut another piece using the Sweet Sorbet and back the main banner.
TIPS:
- Use the colours of the DSP to ensure pieces from the whole set coordinate with each other.
- Insert some of the die cut pieces back into the die cut diagonal panel to add interest.
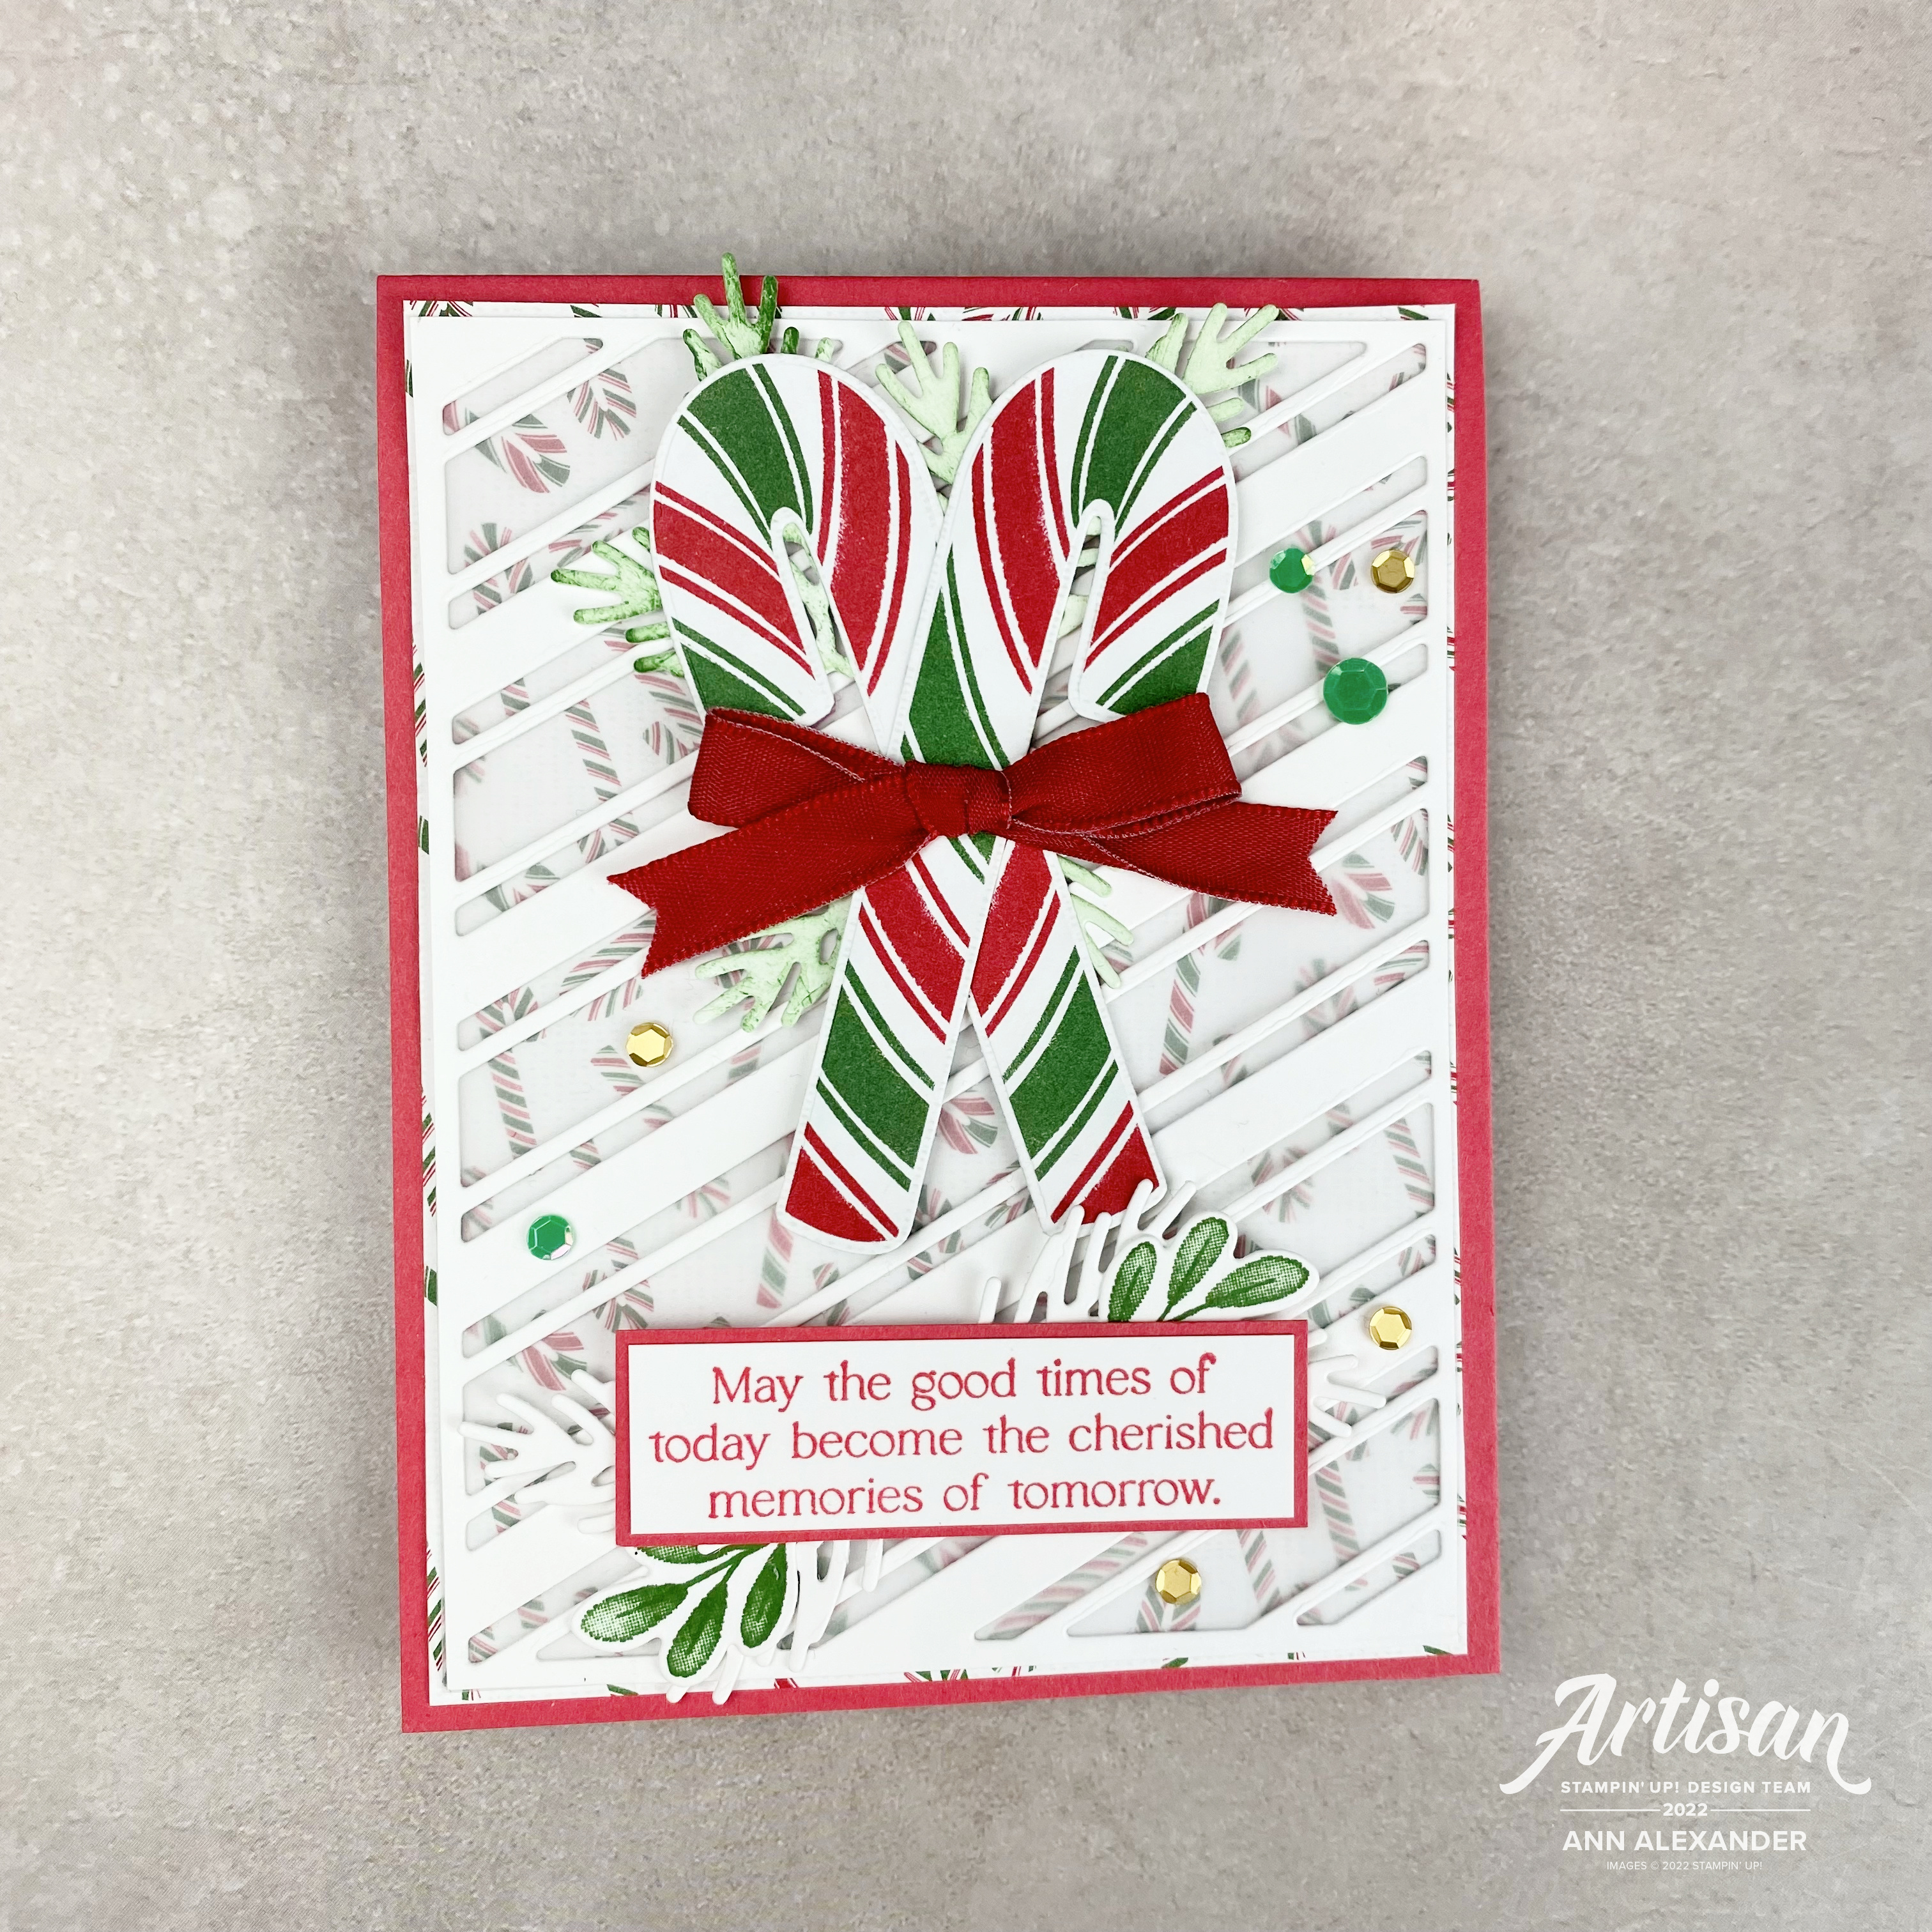
May The Good Times
Instructions:
- Use a Sweet Sorbet card base layered with a piece of the Sweetest Christmas DSP. Die cut a piece of Basic White with the diagonal die from Candy Canes Dies. Mat the back of this piece with Vellum to tone down the DSP.
- Stamp leaves from the Christmas Banners stamp set using Garden Green ink on Basic White and use the Christmas Banners Dies to cut. Die cut some additional pieces of branches from Basic White card using the same dies. Apply Garden Green ink with a Blending Brush to some of the die cut pieces. Use the Candy Canes Dies to die cut some of the Candy Canes from the DSP and adhere and use the Adhesive-Backed Seasonal Sequins to decorate.
- Stamp the sentiment from the Candy Canes stamp set onto Basic White using Sweet Sorbet ink and mat onto a piece of Sweet Sorbet card. Tie a bow using the Real Red Ribbon and adhere to the Candy Canes.
TIP:
- Use Vellum to tone down busy Designer Series Paper.
- Use a Blending Brush to add a soft layer of colour to die cut pieces.
Just For You
Instructions:
- Use a Stars Treat Bag and adhere a piece of the Red Glimmer Paper inside the bag to back the open stars.
- Stamp images from the Christmas Banners Set onto Basic White using Garden Green ink and die cut. Die cut the Candy Cane from the Sweetest Christmas DSP using the Candy Canes Dies. Die cut more leaf/branch pieces from Basic White and use a Blending Brush to apply Pool Party ink to these die cut pieces. Arrange all the stamped images and die cut pieces and adhere to the front to the bag.
- Stamp the sentiment from the Christmas Banners set onto Basic White using Garden Green ink. Die cut using the Christmas Banners Dies. Die cut another piece using Sweet Sorbet card and back the main banner. Tie a fancy bow using the Garden Green Ribbon and adhere to the Candy Cane and add some Adhesive-Backed Seasonal Sequins to decorate.
TIP:
- Use the elements from this collection on packaging like treat bags to spruce up your Christmas Gift Giving.
- Add a fancy bow to a project to add a special element.
__________________________________
I have a new tutorial bundle available this month. The October 2022 Create With Us Tutorial Bundle features 15 tutorials from Stampin' Up!® designers from around the world and this month we have all created Seasonal Fun Folds. I have seen all the projects and they are spectacular. You won't want to miss this bundle.
Visit my Tutorial Page
HERE to purchase this bundle.
____________________
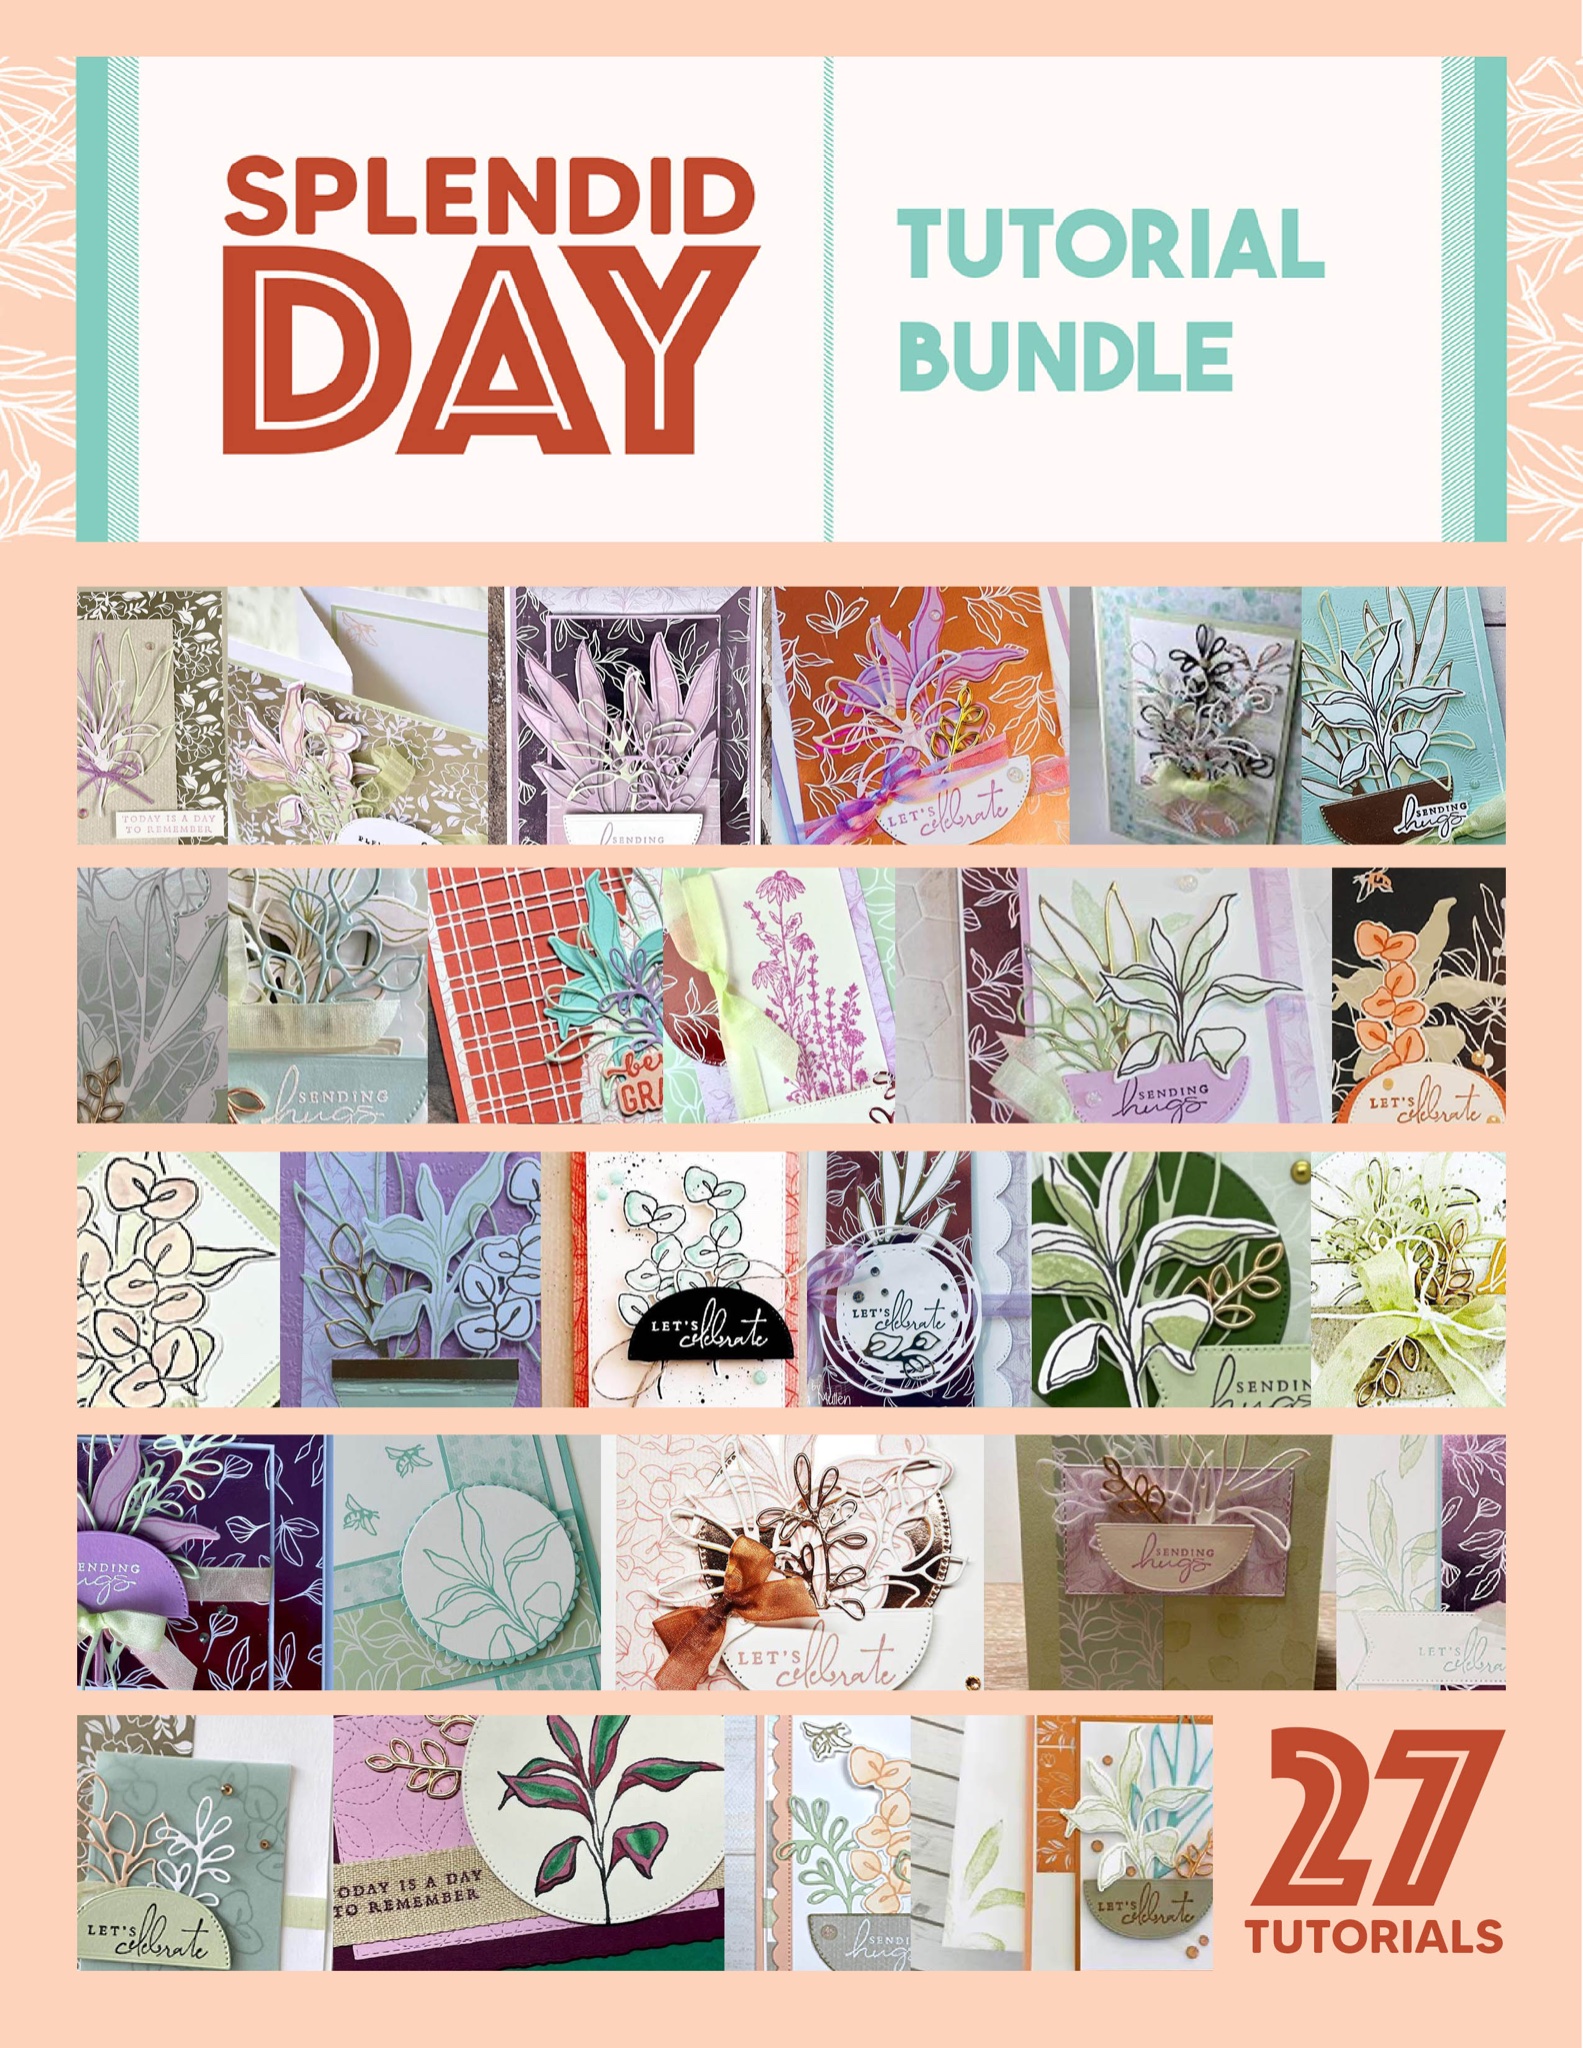
I also have a tutorial bundle available highlighting the Splendid Day Suite Collection containing 27 Tutorials from myself and demonstrators from all over the world. All tutorials contain measurements in both Imperial and Metric.
Visit my Tutorial Page
HERE for more information, or visit the top of this page and click the link.
_______________________________
Subscribe to my newsletter HERE
My OCTOBER 2022 Host Code: SM6GNXDM . When you spend over $40 in my store, you will receive a handmade card and a FREE gift from me.
If you would like to purchase any of these supplies, please click here.
Please email me if you would like a copy of the 2022-2023 Annual Catalogue or the July-Dec 2022 Mini Catalogue.
Click to JOIN my team.
If you would like regular updates from me, click my newsletter link here.
Follow me on social media via Facebook, Instagram and Pinterest.
Hope you are getting some crafty time today, chat soon!


No comments:
Post a Comment
Thank you for taking the time to leave me a comment, it is always very much appreciated!